
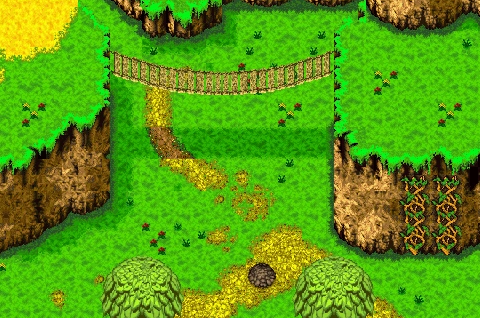
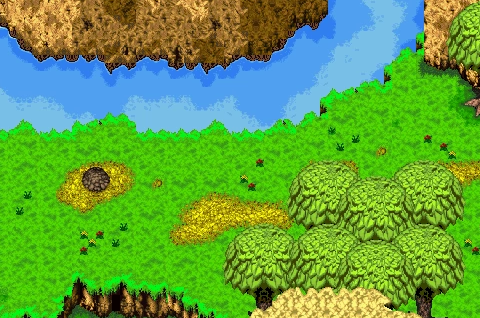
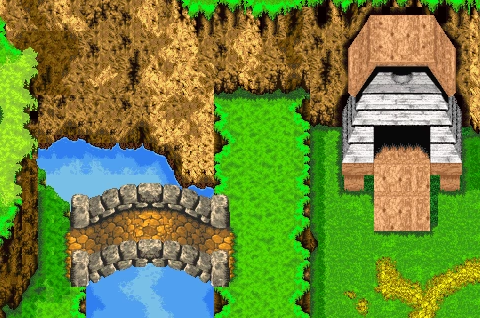
Spiral Mountain is a beloved world in the Banjo-Kazooie franchise, serving as the iconic starting point for every game in the series. The world boasts a picturesque landscape, with lush greenery and a massive spiral-shaped mountain at its center. The mountain serves as the main landmark and features a wooden bridge that leads to Gruntilda’s Lair, the home of the game’s antagonist named Gruntilda Winkybunion. Also, Spiral Mountain is designed to serve as a tutorial, teaching players the basic controls and abilities they will need to succeed in the game. Every game in the series uses this world to ease players into the mechanics, such as double jumps, swimming, and other moves. In the first game of the franchise, Spiral Mountain serves as the initial setting for the story, where Gruntilda kidnaps Tooty, Banjo’s sister, in an attempt to steal her beauty. This event sets the stage for the player’s journey to rescue Tooty and foil Gruntilda’s evil plans. While Spiral Mountain doesn’t offer much in terms of exploration, it still contains hidden secrets for players to uncover. The world is home to six Empty Honeycombs, which are cleverly hidden throughout the area. In Banjo-Tooie, Spiral Mountain received some new areas, such as a small cave behind the waterfall that contains one of the Stop ‘n’ Swop items. The game also introduced a small alcove above the tree stumps, which is accessible due to the destruction of Spiral Mountain caused by Gruntilda and her witch sisters. Inside this alcove houses a Banjo-Kazooie Game Pak that holds another mystery collectible of the Stop ‘n’ Swop series, once Banjo and Kazooie defeat it.
» Spiral Mountain in Banjo-Tooie
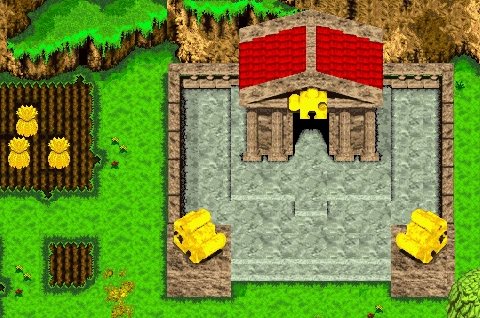
In the follow-up game Banjo-Tooie, Grunty and her evil sisters, Blobbelda and Mingella, harbor a deep-seated desire for revenge against Banjo and Kazooie. Gruntilda had been trapped under a rock for two years following her previous confrontation with the bear and bird, which caused her body to deteriorate into a skeletal form. When the shaman Mumbo attempted to investigate an earthquake, the witch sisters spotted him and Gruntilda Winkybunion launched deadly spells in his direction. Mumbo Jumbo managed to flee to Banjo’s House, where he warned the occupants that the evil witch had returned and was charging a potent spell, which she intended to unleash on Banjo’s House. Despite Mumbo’s warning, Bottles initially believed that his friends were joking and did not evacuate. Consequently, he was turned into a ghost, and his burned remains lay on the ground outside the house. Gruntilda and her sisters, aided by their digging machine, caused significant damage to Spiral Mountain, creating holes and destroying structures. The cliff to the left of Banjo’s house featured a hole created by the witches’ machine, leading to the Jinjo Village in Isle O’ Hags. Additionally, the wooden bridge leading to Gruntilda’s Lair was destroyed, forcing the player to use the Flap Flip to scale the bridge, or a Flight Pad in Spiral Mountain to reach the lair’s entrance. While it remains possible to enter Gruntilda’s Lair, it’s no longer feasible to explore all its nooks and crannies due to the destruction wrought by Gruntilda and her evil sisters. Some boulder block the entrance, which was previously accessible via a slope leading to the first Note Door. However, players may still encounter Cheato, the big red spellbook who resides in the main room and will provide them with one of his codes after they hand over five of his lost pages.
» Spiral Mountain in Banjo-Kazooie Grunty's Revenge
In prior iterations of the game, Spiral Mountain served as a tutorial location where players could familiarize themselves with the basic controls necessary for their journey. However, in the game Banjo-Kazooie Grunty’s Revenge, Spiral Mountain underwent a change due to time travel, and it now serves as the game’s main world. The game’s story begins with Banjo and Kazooie enjoying a relaxing barbecue in front of their blue house. Meanwhile, Mumbo Jumbo keeps a watchful eye on Klungo as he attempts to move the heavy rock once more. Suddenly Klungo came up with an idea and brings in a robot that resembles Gruntilda into which Gruntilda Winkybunion’s spirit can be transferred. This robot allows the wicked witch to initiate a scheme of revenge against Banjo and Kazooie. Gruntilda explains to Klungo that she intends to kidnap Kazooie and travel back in time in order to prevent the bear and bird from ever meeting. By doing so, she wants to erase her prior defeat at the hands of the protagonists while simultaneously restoring herself to her former glory. Once Kazooie got kidnapped, Mumbo Jumbo takes action by using his own magic to send Banjo back in time to put a stop to her evil plan. The game includes buildings and locations from Banjo-Tooie, such as Jiggywiggy’s Temple, which is used to break magic seals in Spiral Mountain and unlock new worlds, as well as Honey B’s Hive, where players can trade in Extra Honeycombs to increase their health points. Additionally, Banjo-Kazooie Grunty’s Revenge is the only game in the franchise in which players are able to find and collect Musical Notes in Spiral Mountain.
» Spiral Mountain in Banjo-Kazooie Nuts & Bolts
At the outset of Banjo-Kazooie Nuts and Bolts, the protagonists are depicted enjoying a leisurely day in the picturesque environs of Spiral Mountain, while having become a tad out of shape due to their dearth of adventuring. Meanwhile, a brief interlude shows Grunty’s head, which had been detached from her body, returning to Spiral Mountain, driven by a desire for revenge against the two. However, just as the two heroes are about to engage in another tussle with Grunty, they are suddenly interrupted by Lord of Games, the mastermind behind all video games. Lord of Games informs the trio that he is here to mediate the conflict between them simply by devising a series of Jiggy-Challenges, wherein the player must complete a series of arduous tasks while Gruntilda uses her sinister abilities to impede their progress. Ultimately, the last challenge will take place in Spiral Mountain, thereby determining the real winner of the game and the rightful owner of Spiral Mountain. Beyond the last two Jiggy-Challenges that take place at the end of the game, there is nothing else to be explored in Spiral Mountain, beside of the Digger Tunnels that connects to the Jinjo Village from previous game. Unfortunately, the tunnel’s entrance has been blocked by large and heavy boulders, rendering it inaccessible. Furthermore Gruntilda’s Lair can still be located in Spiral Mountain, albeit in a state of disrepair. The entrance to the main room with the big portrait of Gruntilda on the wall has been completely blocked by boulders, thereby preventing entry.
» List of Collectibles
JIGGIES
Jiggy #01: To receive the first Jiggy of Spiral Mountain you must head over to the Jiggywiggy Temple and talk to Master Jiggywiggy for the first time. He will start to explain the use of the Jiggy Crystal and will give Banjo and Kazooie their first Jiggy to open the world Cliff Farm.
Jiggy #02: Head over to the Jinjo Oracle and climb up the ropes to reach the section, where Gruntilda’s Lair can be found. Below Gruntilda’s Lair there are a some piles of sticks that you can destroy by performing the Pack Whack , while the sparkling one will reveal a Jiggy.
Jiggy #03: As soon as you have learnt the Bill Drill from Bozzeye in Bad Magic Bayou, go west of Bozzeye’s hill, where he taught you the first ability Pack Whack. On the ground near a tree perform the Bill Drill ability with Banjo and Kazooie on the loose ground to knock off a Jiggy.
Jiggy #04: From the entrance door of Bad Magic Bayou, go north until you see a few grassy pillars with a hole of a Grille Chompa. Jump up the low pillar and defeat him, allowing you to use the Flap Flip ability in order to reach the top of the large pillar and to pick up the Jiggy.
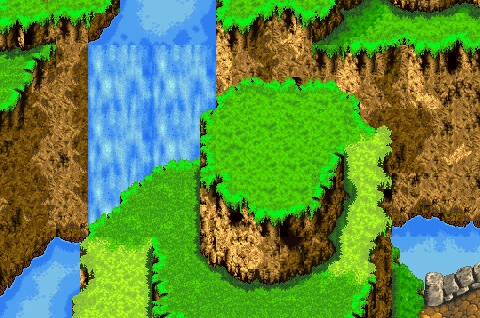
Jiggy #05: For this Jiggy start at Honey B’s Hive and go left to find a Shock Spring Pad on the ground. Use the Shock Spring Pad to reach the upper level of the grassy mountain and walk left until you see a waterfall, where a Jiggy is floating above the water that you can pick up.
Jiggy #06: To pick up this Jiggy you need to walk to the west of Honey B’s hive and go up the Spiral Hill, where you can find a Jiggy Switch on the ground. Hit it with the Pack Whack ability to let a Jiggy appear near Gruntilda’s Lair and pick up the Jiggy before the time runs out.
Jiggy #07: First head over to the Spiral Mere section of Spiral Mountain and go southeast to find several Shock Spring Pads and holes with Grill Chompas. Use the Shock Spring Pads on your way to reach the last tall pink pillar, where Banjo and Kazooie can find another Jiggy.
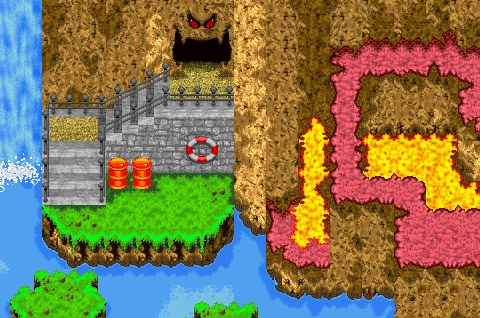
Jiggy #08: To get this Jiggy head over to the section called Spiral Mere, where you are able to find south of the Freezing Furnace entrance door a Dolphin, greeting the Duo. The dolphin is hungry so you must feed him with ten eggs out of fifteen chances to receive another Jiggy.
Jiggy #09: To let this Jiggy appear, you have to find and collect all five pink colored Jinjos that are hidden in Spiral Mountain. As soon as the last pink Jinjo got picked up, this golden Jiggy here will appear in front of the Jinjo Oracle, who is above the hill near Jiggywiggy’s Temple.
Jiggy #10: From the entrance door that leads to Spiller’s Harbor, dive into the water and past the fiery place until you see a Wonderwing Pad on the ground. At this point, make sure that you’ve enough golden feathers to make your way through the enemies and get the Jiggy.
MUSICAL NOTES
✤ On the path leading to the molehill that is near a river (10)
✤ At the top of the entrance door leading to Breegull Beach (3)
✤ On the path leading to Jiggywiggy’s Temple(8)
✤ Scattered around the crop field next to Jiggywiggy’s Temple (7)
✤ To the left of the entrance door leading to Breegull Beach (3)
✤ To the right of the entrance door leading to Bad Magic Bayou (3)
✤ North of the Bad Magic Bayou entrance door (3)
✤ On the path towards the Spiral Hill that located in the center of Spiral Mountain (5)
✤ In front of Honey B’s Hive (3)
✤ Below the entrance of Gruntilda’s Lair (3)
✤ On the right pillar at the beginning of Spiral Mountain (3)
✤ On a wooden bridge that connects two hills at the beginning (2)
✤ In front of two pillars near Gruntilda’s Lair (3)
✤ On the path leading to a Jinjo surrounded by flames near Honey B’s Hive (6)
✤ In the top left corner next to Honey B’s Hive (4)
✤ On a pink platform next to a dolphin in Spiral Mere (1)
✤ Inside the water in the Spiral Mere section (5)
✤ On a barrel near the entrance door leading to Spiller’s Harbor (2)
✤ Near the entrance door leading to Freezing Furnace (3)
✤ On the path near a lava filled ground leading to a Jiggy (11)
✤ Scattered around on pink pillars with Shock Jump Pads in Spiral Mere (12)
EXTRA HONEYCOMBS
Extra Honeycomb #01: For the first Extra Honeycomb head over to Jiggywiggy’s Temple and keep looking for a small pile of sticks on the ground that is glowing. Simply perform the Pack Whack technique that you have learnt from Bozzeye to reveal the first Extra Honeycomb.
Extra Honeycomb #02: To get the second Extra Honeycomb of Spiral Mountain, head over to Honey B’s Hive and keep looking for a Shock Spring Pad that is on the left side. Use it to jump on the hill above and walk to the right to find the last Extra Honeycomb on Honey B’s hive.
JINJOS
Jinjo #01: To find the first Jinjo of Spiral Mountain, start from the spawn point and head to the top until you reach a river, where you’ve learnt the Pack Whack ability form Bozzeye. Perform the Pack Whack technique on the pile of sticks to reveal the first Jinjo that can be picked up.
Jinjo #02: To reach the second Jinjo, the climbing technique from Bozzeye is required, which he will teach in Cliff Farm. Once you have learnt this technique, head over to the Jinjo Oracle and climb up the wall to walk up the spiral shaped hill on the left side with the pink Jinjo on it.
Jinjo #03: In order to collect the third Jinjo of Spiral Mountain, the Duo has to learn the Shock Spring Pad technique from Bozzeye. Once done, head over to Spiral Mere and jump into the water to find a pillar with the Jinjo on it that can be reached by using the Shock Spring Pad.
Jinjo #04: For the fourth pink Jinjo you have to go to the Spiral Rise and use the Shock Spring Pad that is next to Honey B’s Hive to reach the top of the mountain. From there select the ice eggs to unlit the flames on the right side and to grab the Jinjo, sitting next to a toll machine.
Jinjo #05: To collect the last Jinjo of Spiral Mountain use the Shock Spring Pad that is on the left side of Honey B’s Hive and take the left to reach the Spiral Mere. From there use the Flap Flip to get on the pink hills, where you can pick up the last Jinjo under door of the grassy hill.