
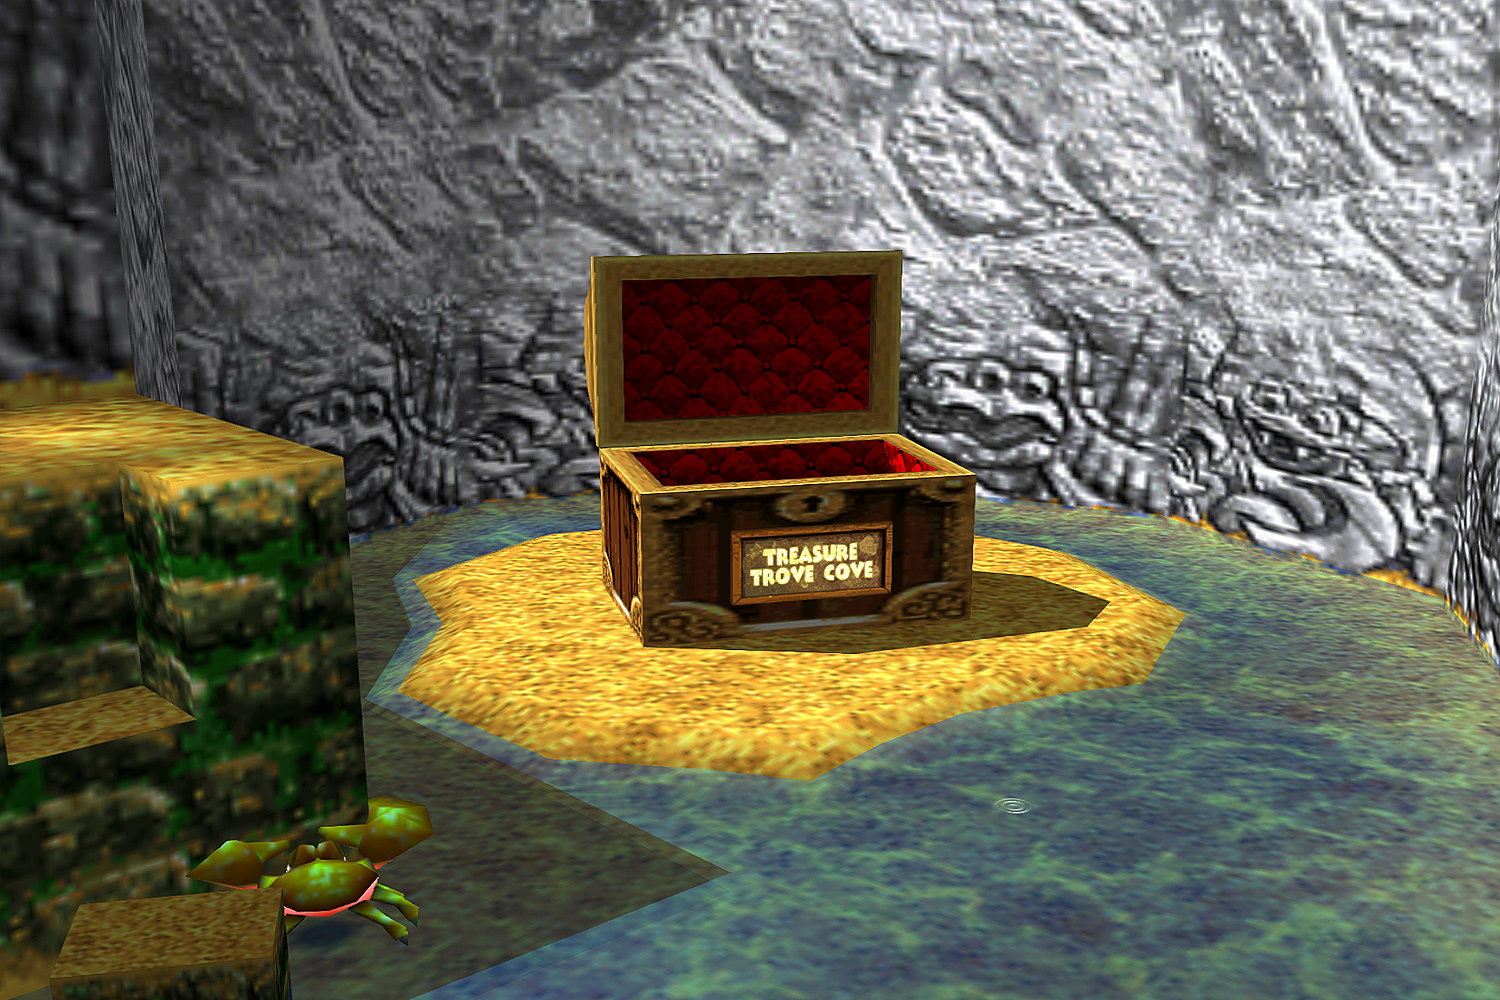
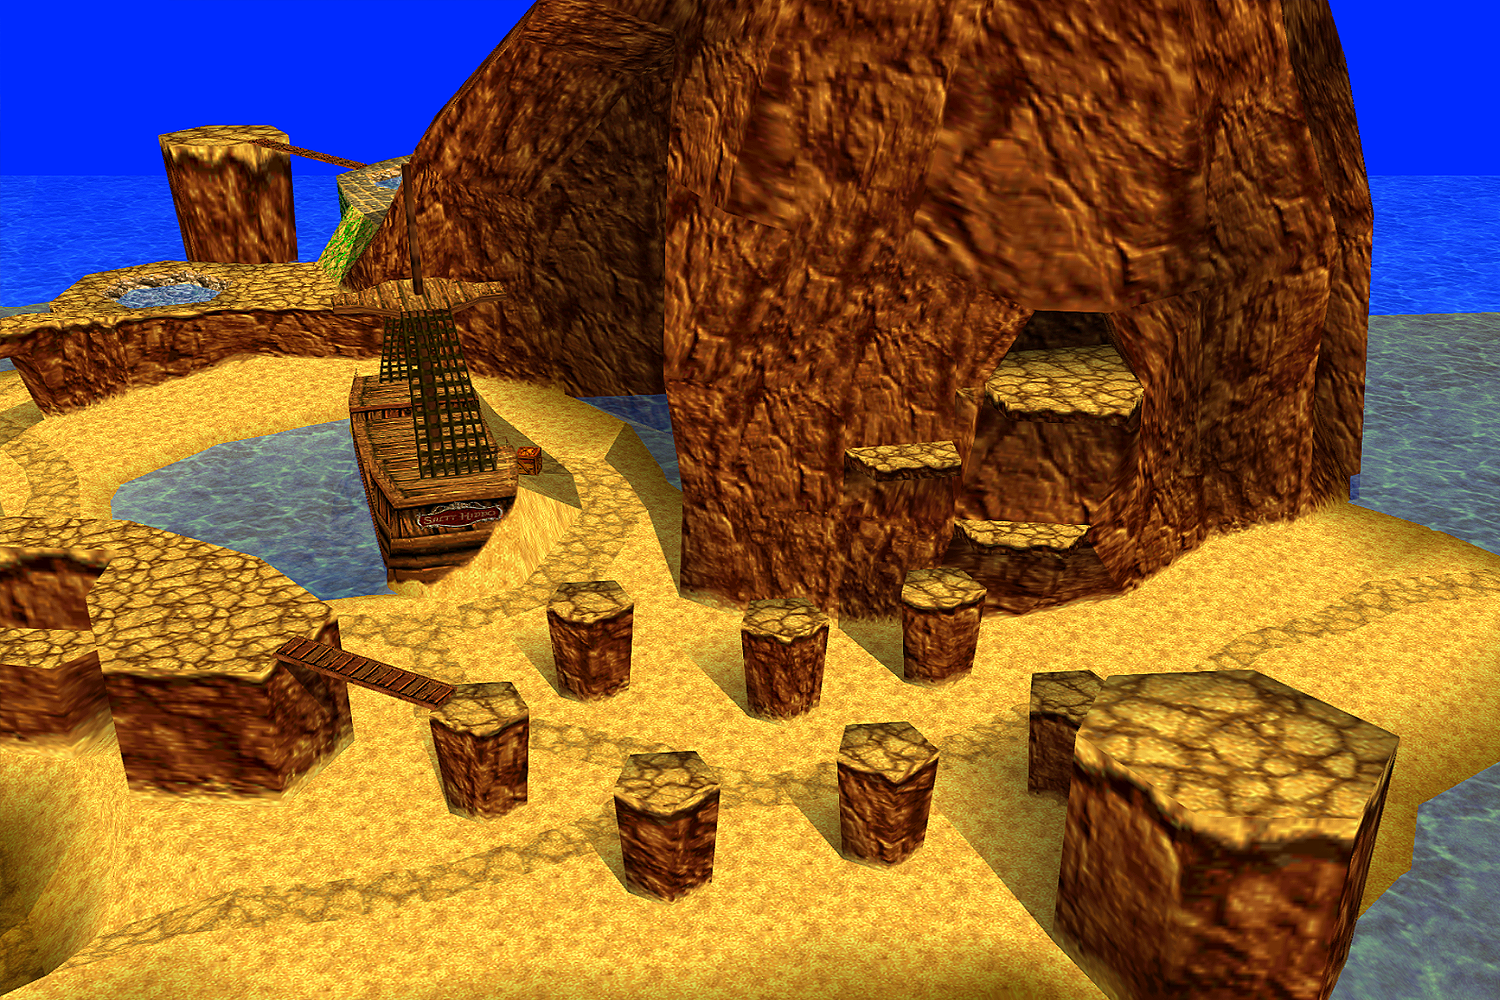
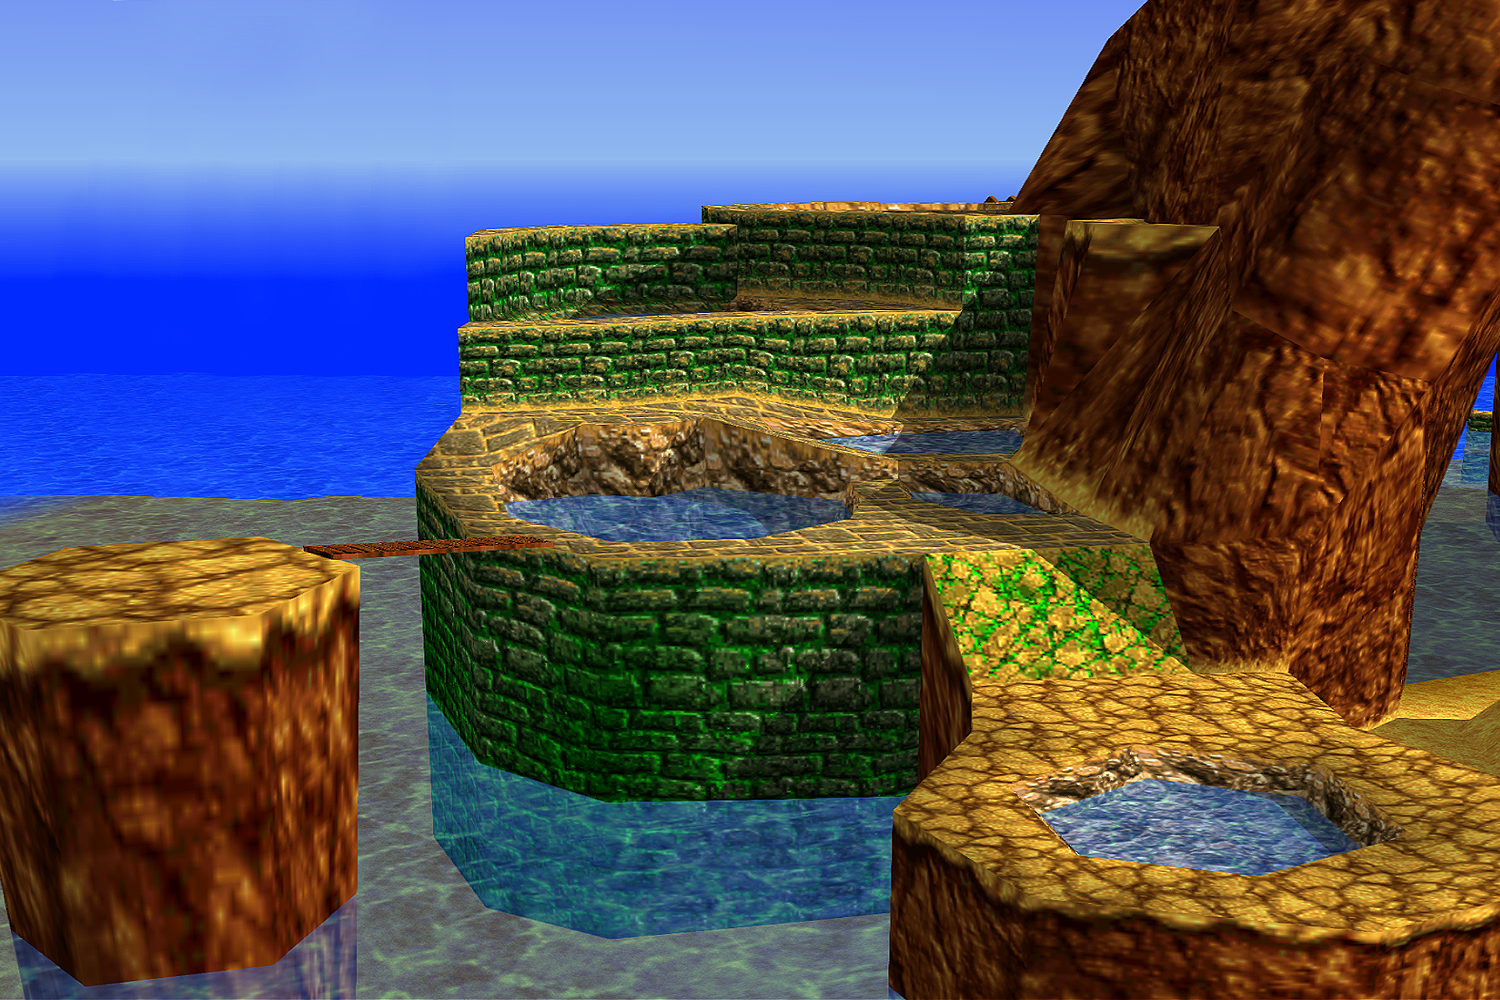
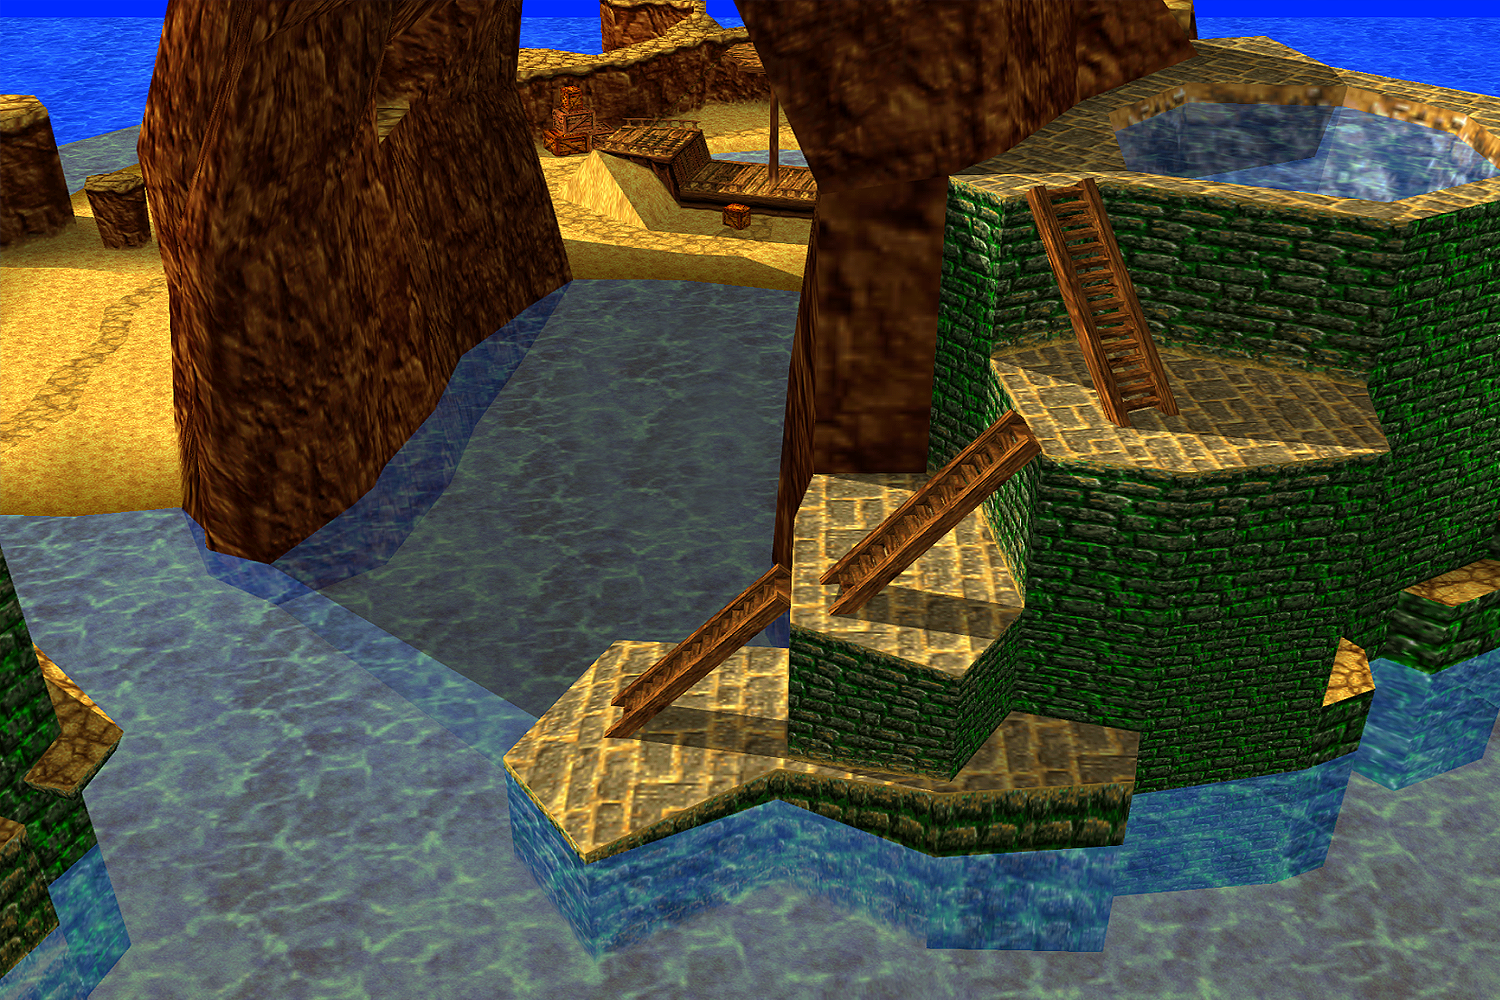
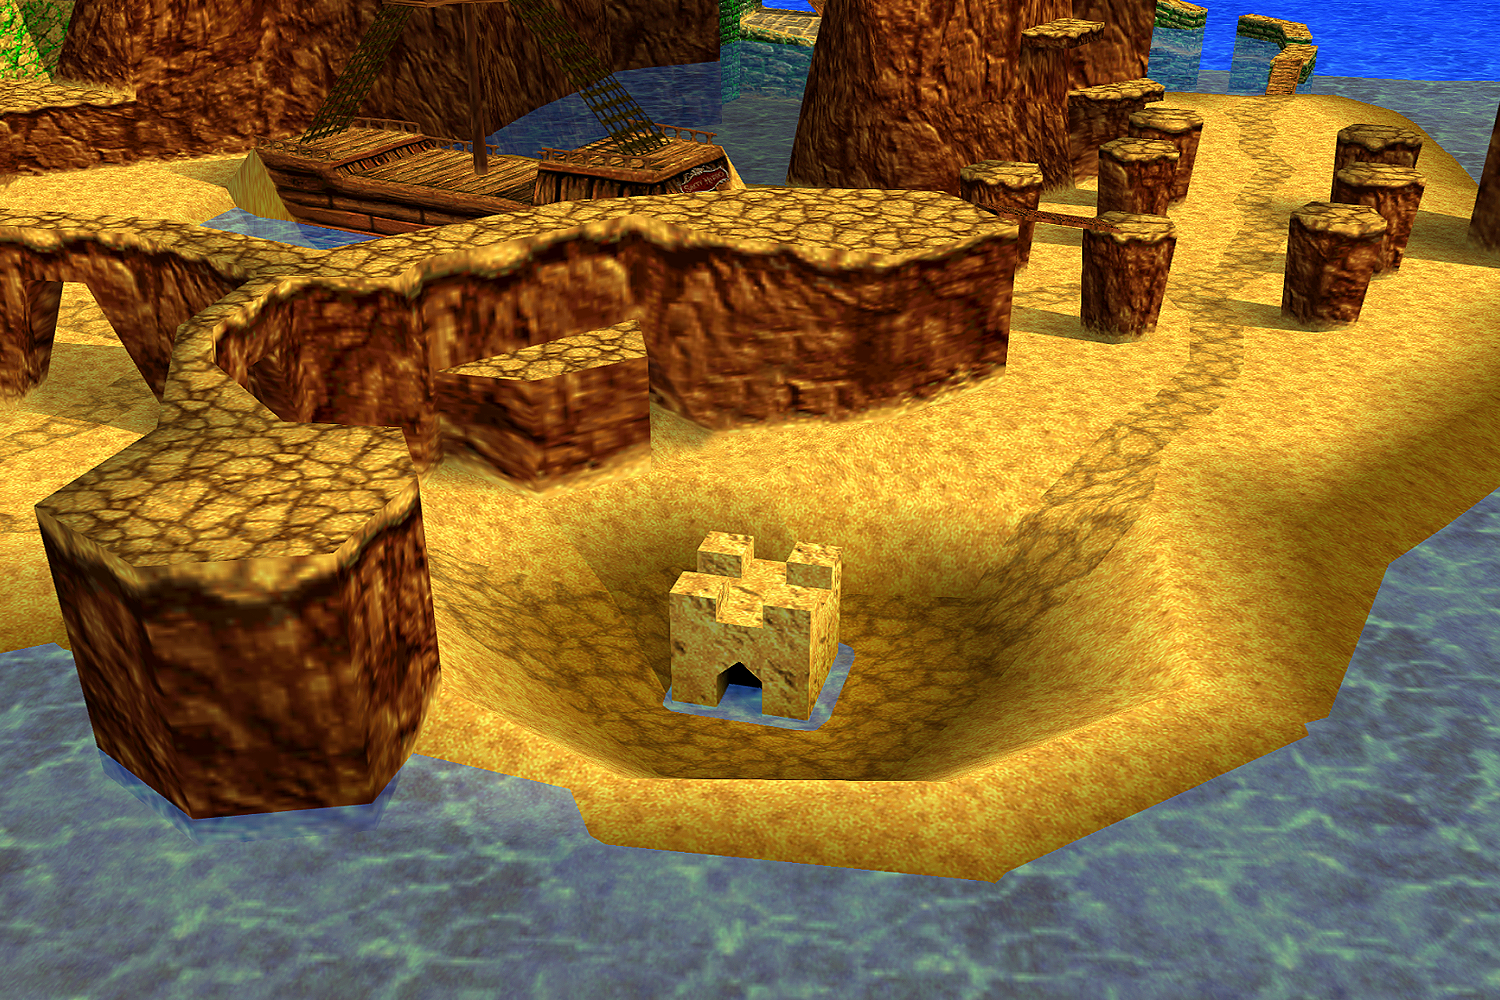
Treasure Trove Cove, the second playable world in Banjo-Kazooie accessible through Gruntilda’s Lair, is a stunning location that features a beach theme and a massive arch made of stone in the center. The arch is topped by a white-colored lighthouse, and in front of it there is a wooden ship that is also called the Salty Hippo, which belongs to a hippo called Captain Blubber. He’s in need of Banjo and Kazooie’s help to retrieve his golden treasures from the water, because he can not swim, and offers a golden Jiggy in exchange for their assistance. Furthermore, the world is larger and richer than Mumbo’s Mountain, although relatively easy. However, certain areas of the world can only be reached by swimming through shark-infested waters, which causes Snacker, a blue skinned shark, to appear. On the right side of the entrance platform, a small Sandcastle can be found, which allows players to activate codes to unlock unique items or enable cheat codes that modify the gameplay. In Treasure Trove Cove, players can acquire two new abilities from Bottles including the use of Shock Jump Pads and Flight Pads. To unlock this world, they must complete the world’s puzzle, which is located in the room with Gruntilda Winkybunion’s portrait on the floor and requires a total of two Jiggies. Finally, the world doesn’t feature Mumbo’s Skull which means there is no way to use his transformations. Despite its relative ease, Treasure Trove Cove offers a fun and exciting challenge for players with its vast open world and shark-infested waters, while the Sandcastle offers new opportunities for players to modify their gameplay experience.
» Stop 'n' Swop in Treasure Trove Cove
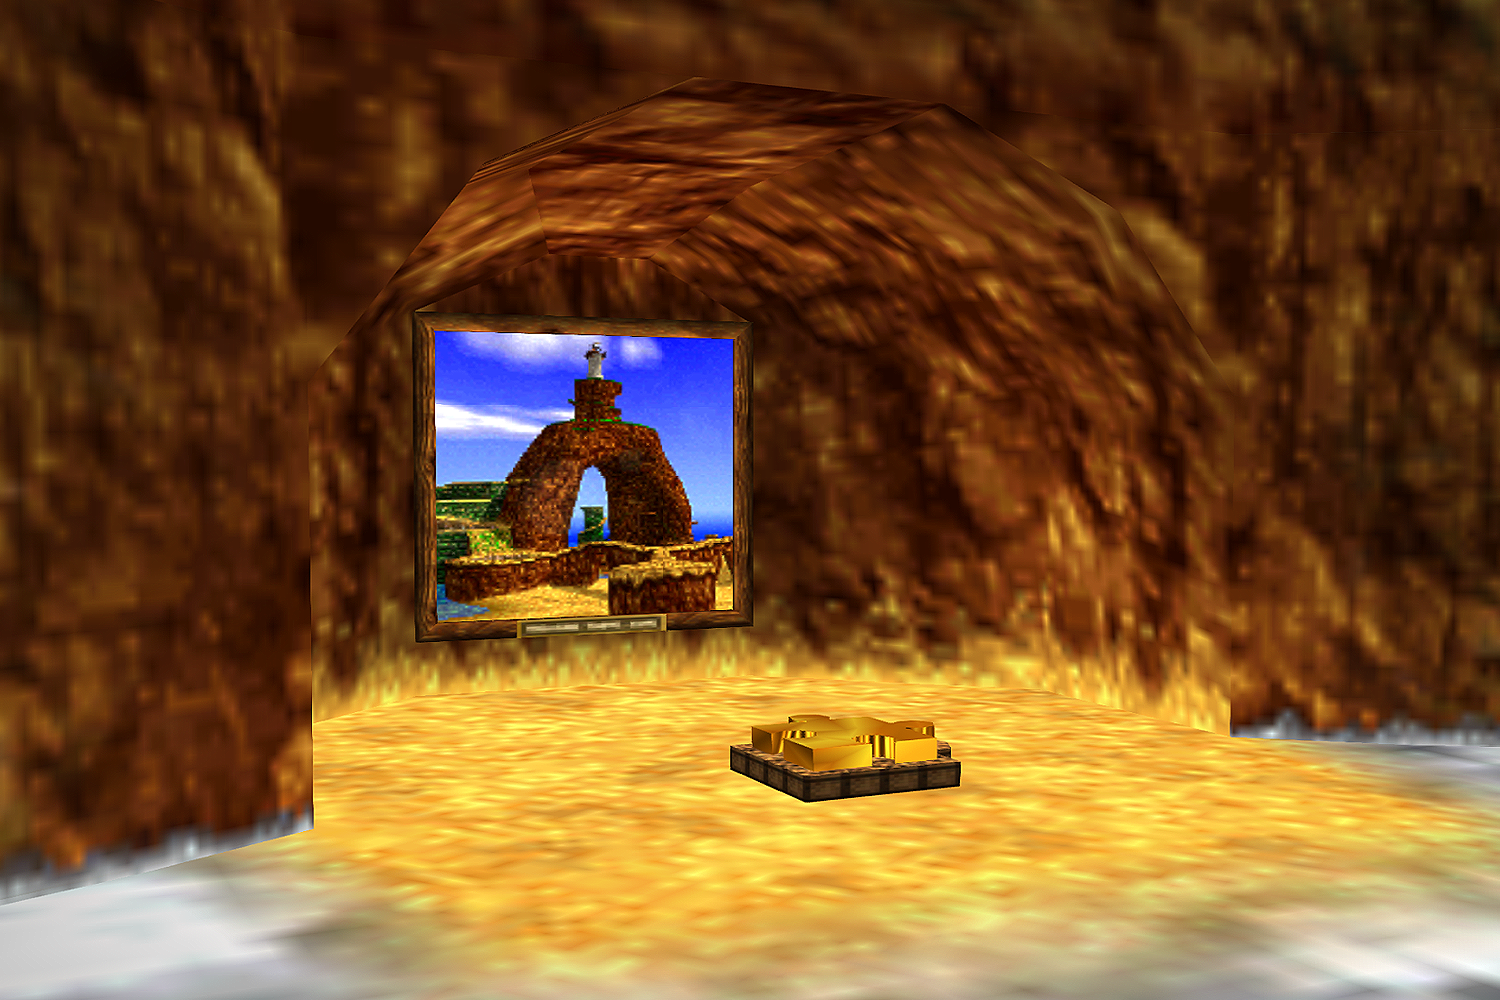
In the Banjo-Kazooie franchise, players can uncover a special and mysterious feature known as Stop ‘n’ Swop. This special feature involves six different colored mystery eggs and a large ice key that unlocks various rewards for players in sequel games, including the games Banjo-Tooie and Banjo-Kazooie Nuts and Bolts. Typically, these mystery eggs and the key cannot be found by the player, unless a specific code is entered inside the Sandcastle of Treasure Trove Cove. It can be challenging to enter the correct code, due to its length and one single mistake means the player must start over again from the beginning. Also, it’s worth noting that while entering these codes the platforms on the ground will not change color or play any tune, after players used Kazooie’s Beak Buster. One of the codes is related to Treasure Trove Cove, while entering the code correct will cause Sharkfood Island to rise from the water. This mysterious location can be found on the opposite side of the Sandcastle and leads players inside a room with a tall pillar in the center. To reach the pink egg located on top of the giant pillar, players will have to use a Shock Spring Pad that will launch them high into the air to get it. Sharkfood Island has piqued the curiosity of many Banjo-Kazooie fans, as it is not only shown on a sign in Treasure Trove Cove, but also appears in the images shown by the pink shaman Mumbo Jumbo at the end, after successfully beating the wicked witch Gruntilda Winkybunion, while having all hundred Jiggies hidden in the game.
» List of Collectibles
JIGGIES
Jiggy #01: For this Jiggy, jump in the pool near the ship and swim through the open window to pick up the first gold. After that go up on the Salty Hippo and Beak Bust open the strange colored part of the deck to find the second gold and return to Captain Blubber for a Jiggy.
Jiggy #02: To the left of the entrance you can find a giant crab called Nipper, which you must defeat by using Kazooie’s Rat-a-tat Rap technique when he stops swinging his arms. Once he got hit three times, Nipper disappears allowing you to enter his shell and find a Jiggy.
Jiggy #03: Go to the area where you were taught the Shock Spring Pad and drop down to a ledge near the Sandcastle to find a bucket called Leaky. Drop three eggs inside him in order to drain the water and spell out the word Banjo-Kazooie inside the castle to free a Jiggy.
Jiggy #04: Head over to the Pillar Area and talk with Bottles to learn the use of Shock Jump Pads in order to jump from pillar to pillar and move left towards the giant arch. When you are there, start springing up the ledges until you reach the Jiggy inside an alcove of the arch.
Jiggy #05: In the area where you will face Nipper, there is a Shock Jump Pad allowing you to spring up to the platform. Find the second pad to reach the next level and keep looking for a pond with a Shrapnel inside, where you must jump inside and dive down to grab the Jiggy.
Jiggy #06: Head to the back of the giant arch by passing through the water and try to avoid Snacker the shark. Once you’ve reached the part with the ladders, walk to the right to find a small path and hop onto the ledges to reach the golden Jiggy in an alcove at the end of it.
Jiggy #07: Use the Flight Pad at the top of the mast on Captain Blubber’s wooden ship also known as the Salty Hippo and make your way under the arch. Aim for the cove to the left to find a Lockup and carefully jump inside of it to grab another Jiggy of Treasure Trove Cove.
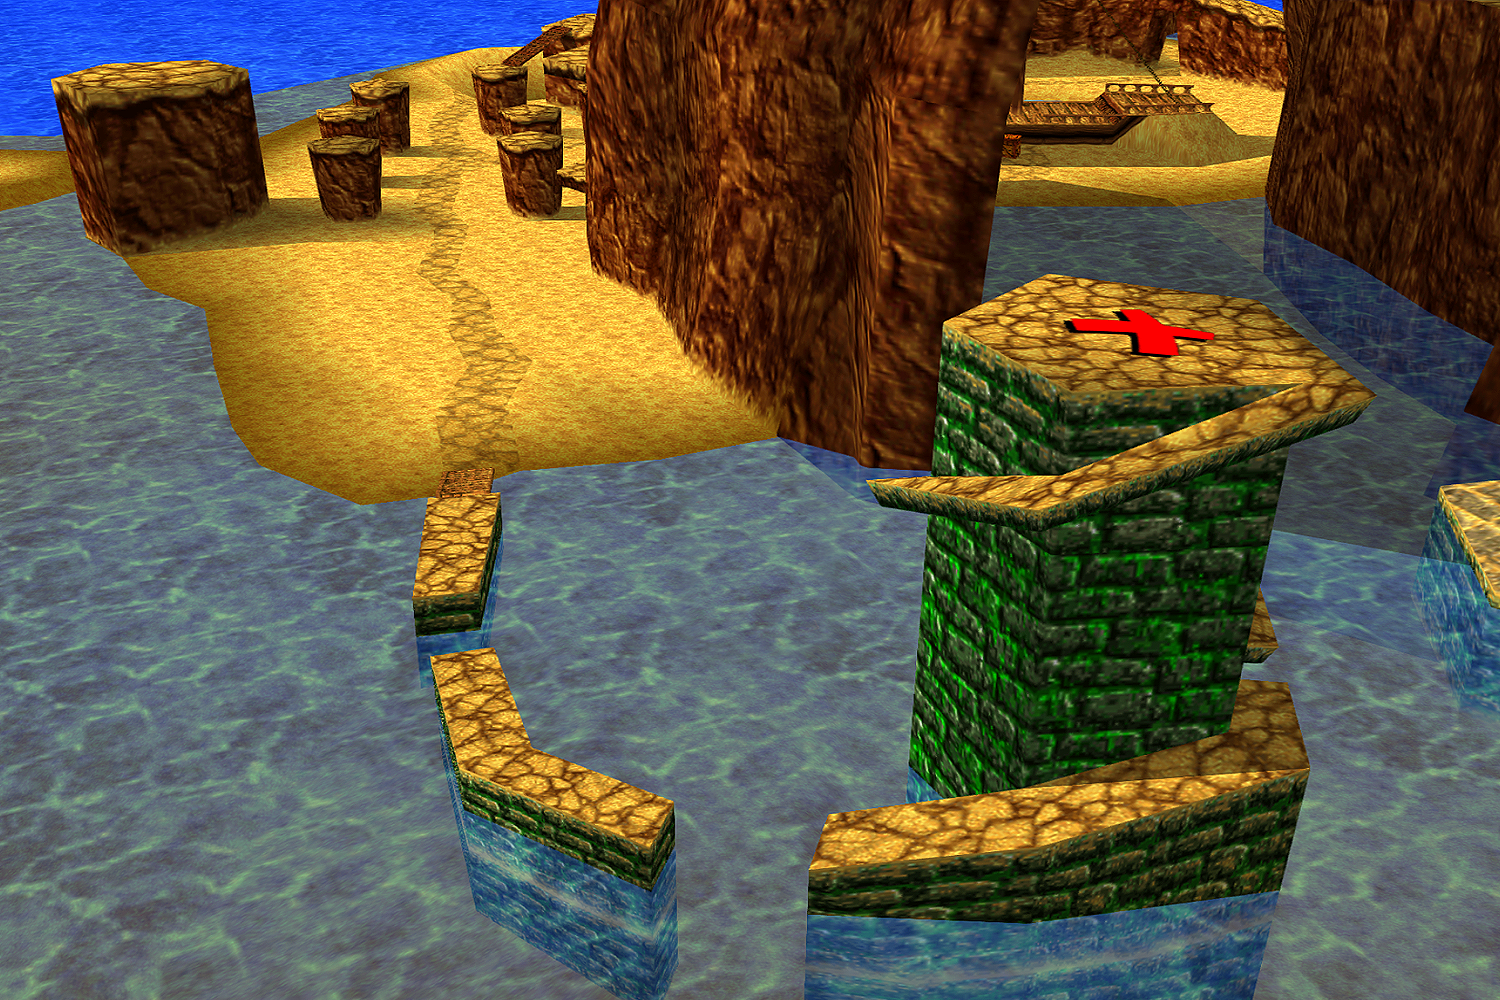
Jiggy #08: At the top of the green Spiral Pillar, pound the giant cross and use the Flight Pad to start flying and continue this pattern until the cross turns into a large question mark. After that head to the big pillar, pound the ground and defeat the Little Lockup to get a Jiggy.
Jiggy #09: To earn this Jiggy, you have to find and collect all five different colored Jinjos that are hidden in the world Treasure Trove Cove. As soon as you have found and collected the last Jinjo, they will reward you with another Jiggy that can be picked up on the ground.
Jiggy #10: Use the Flight Pad located at the top of the mast on the Salty Hippo and fly all the way over to a small cove on the right wall under the giant arch. Walk up the stairs and make your way to the top until you reach the lighthouse, where you can pick up the last Jiggy.
MUSICAL NOTES
✤ On the giant pillar in the Pillar Area (6)
✤ In the Pillar Area with the Shock Jump Pad’s on it (3)
✤ On the top of the Sandcastle (5)
✤ Inside of the Sandcastle (4)
✤ On the top of the Salty Hippo (3)
✤ Close to the entrance platform (3)
✤ Around the Salty Hippo (4)
✤ In each corner of the wooden dock near the entrance platform (4)
✤ Inside the water around the Salty Hippo (3)
✤ Near the rocks around the entrance platform (3)
✤ Near the rocks near Nipper’s Beach (3)
✤ On the deck of the Salty Hippo (4)
✤ Inside of Nipper’s Shell (6)
✤ Inside of the Salty Hippo (8)
✤ Next to the Giant Arch (6)
✤ In one of the cliff pools next to Nipper’s Beach (3)
✤ Around the Lighthouse located at the top of the Giant Arch (3)
✤ On the stairway behind the Giant Arch (4)
✤ On wooden boxes in the ocean (8)
✤ In front of the right entrance under the giant arch (1)
✤ Near the Jiggy on the back side of Treasure Trove Cove (4)
✤ Inside one of the LockUp’s near the Pillar Area (5)
EXTRA HONEYCOMBS
Extra Honeycomb #01: To get this Extra Honeycomb start from the world’s entrance platform and head to the left until you reach the area of Nipper. Once there, turn right and jump inside the water, where you must dive towards the wall to find the Honeycomb in the corner.
Extra Honeycomb #02: Start from the world’s entrance platform that is on the wooden dock and head to your right to follow the beach. Simply pass the giant column and out in the water you are able to see a wooden crate floating in the ocean with the Extra Honeycomb on it.
MUMBO TOKENS
✤ To the left of the entrance platform in the shallow water behind Nipper’s shell
✤ Above the molehill where you learn to use the Shock Spring Pad’s
✤ Under the lookout mast of the Salty Hippo
✤ On a wooden crate located under the Giant Arch
✤ In one of the rock pools underneath a Shrapnel
✤ Two of them are inside a Lockup near the rock pool stairs
✤ Inside the water behind the biggest pillar in the Pillar Area
✤ On a wooden crate that is below the deck of the Salty Hippo
✤ Behind the door of the Lighthouse that is located at the top of the Giant Arch
JINJOS
Jinjo #01: This blue Jinjo here can be found near the entrance platform and is right under the wooden dock in the ocean. He can be picked up by diving down in the water but be aware since a blue shark called Snacker will start to attack you as soon as you enter the water.
Jinjo #02: The orange Jinjo can be found on a ledge that is located between Nipper’s Beach and the back of Treasure Trove Cove. Probably the best way to obtain him is by moving along the puddles and holes where the Shrapnel’s are, but be careful that you won’t fall off.
Jinjo #03: In order to find and pick up the green Jinjo make all your way up to the top of the Salty Hippo by walking up the net until you reach a molehill with a Flight Pad next to it. From there simply climb up the wooden mast in the center of it to pick up the Jinjo at the top.
Jinjo #04: The yellow Jinjo is located at the top of the giant arch near the Lighthouse. Simply use the Flight Pad that is on the Salty Hippo to fly all the way up to the Giant Arch and switch the camera to look down on the palm trees, while one of them is holding the yellow Jinjo.
Jinjo #05: To pick up the last Jinjo of Treasure Trove Cove head over to the pillar area and use the Shock Jump Pads that you’ve learnt from Bottles to reach the pillar with the pink Jinjo on it. Otherwise you can also use the Flight Pad on the Salty Hippo and try to land on it.
EXTRA LIVES
✤ Inside a pool above the rock pool area
✤ On a wooden crate that is floating next to Sharkfood Island
✤ Inside the water between the first gap on the path leading up the Spiral Tower
WITCH SWITCH
Witch-Switch #01: The Witch-Switch of this world can be found at the top of the arch behind the white Lighthouse that is located in the center of it. As soon as the switch got pressed, the Jiggy will get shot from the cannon in Gruntilda’s Lair and will land on the ship across of it.