
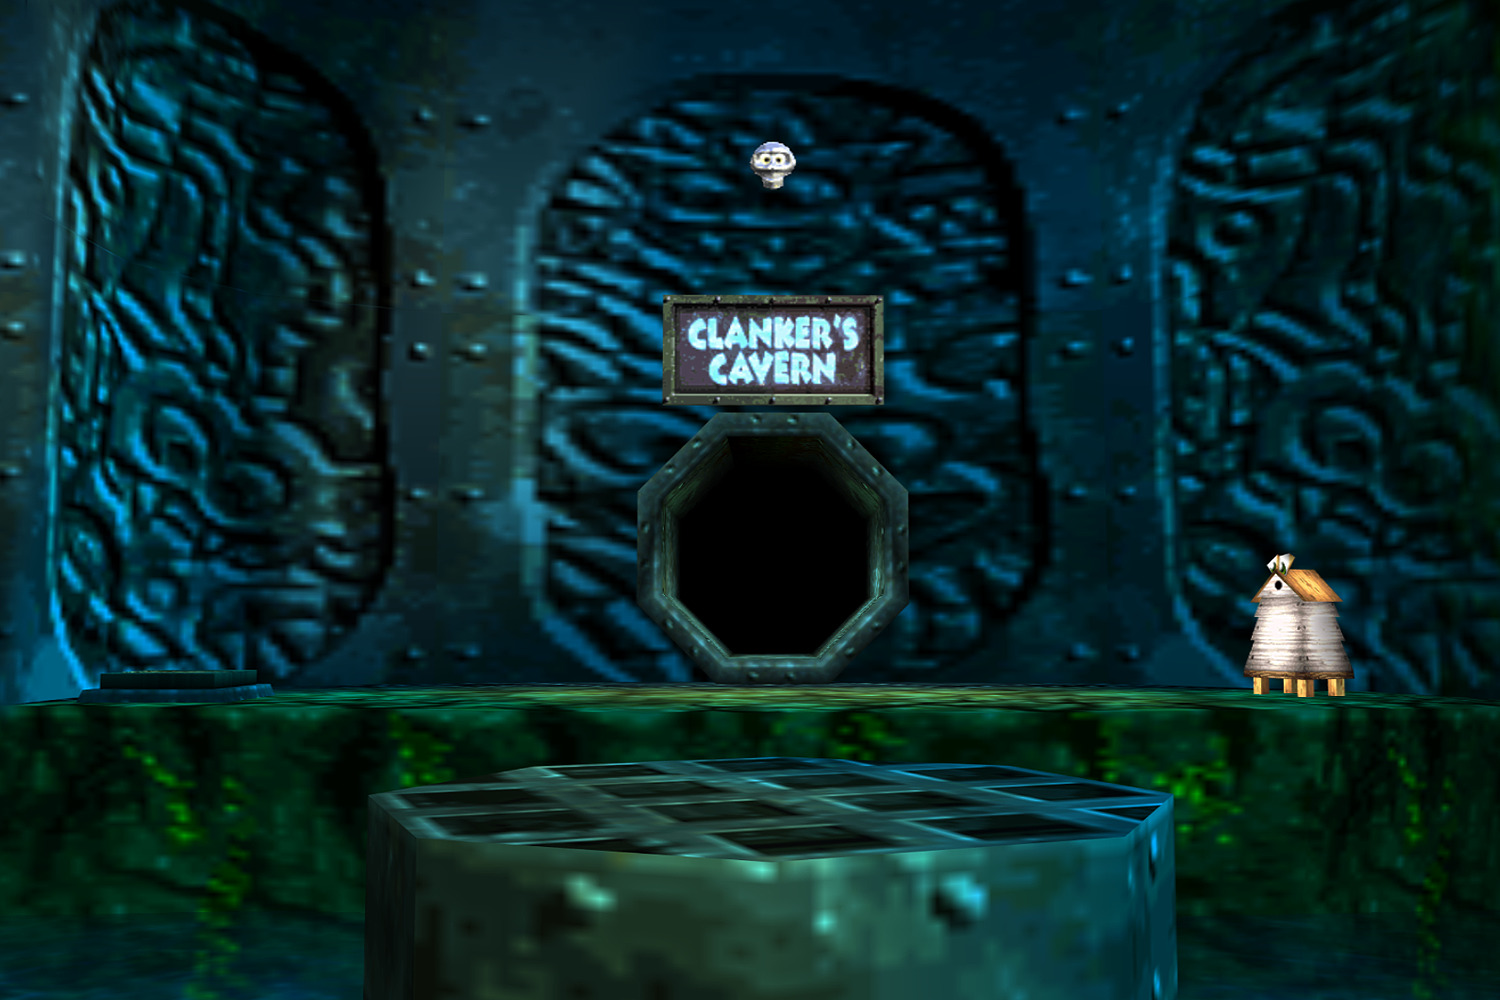
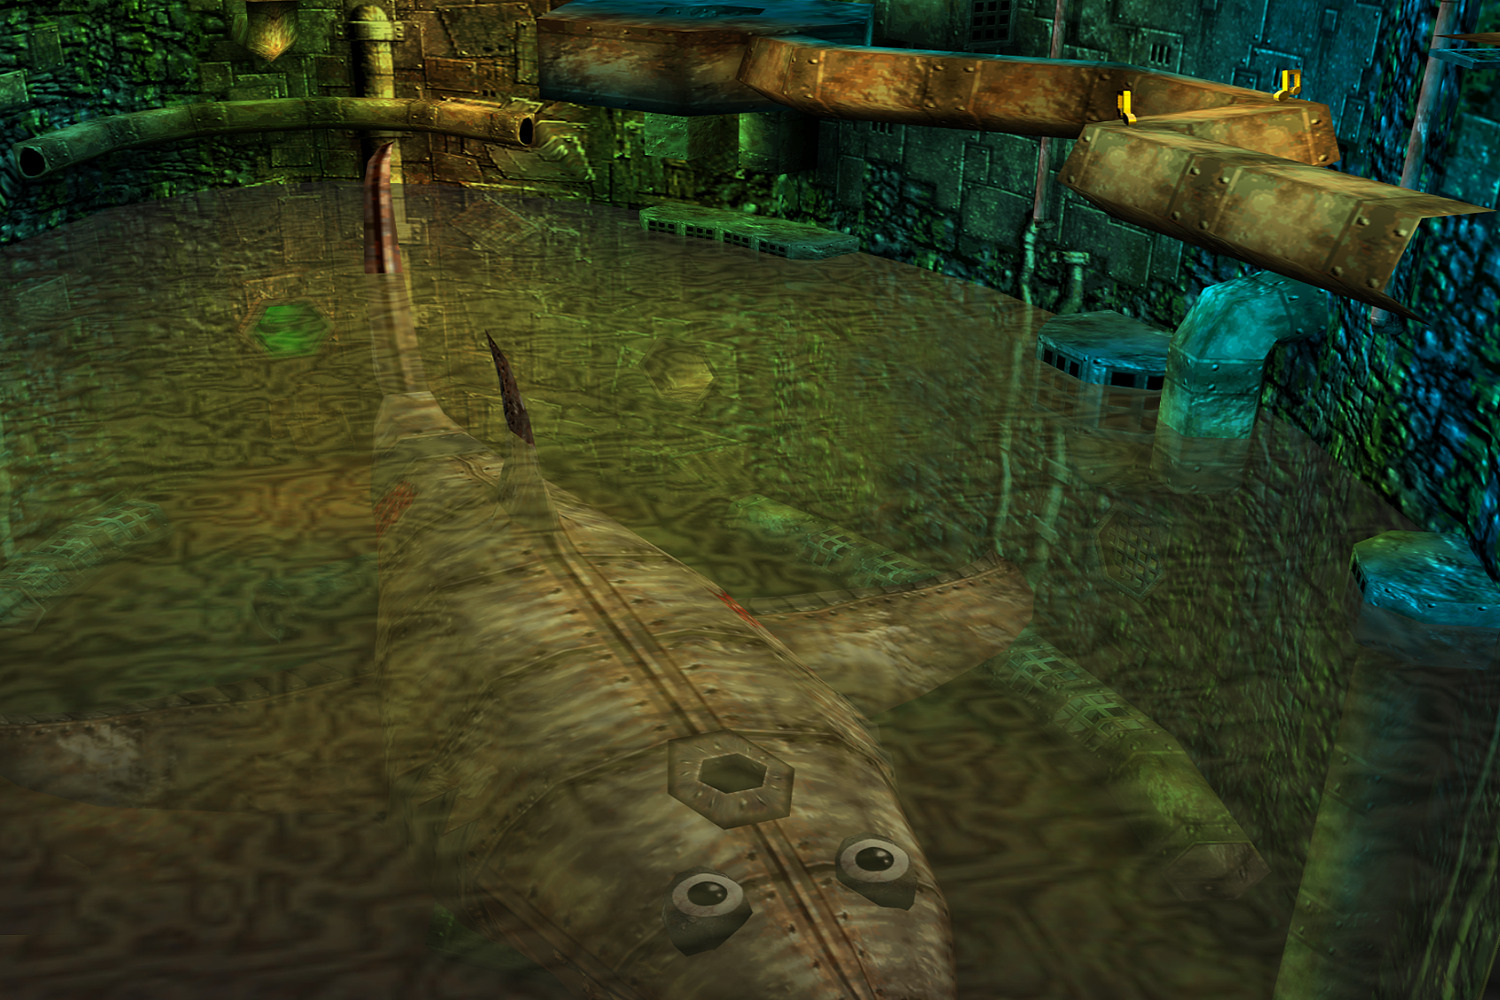
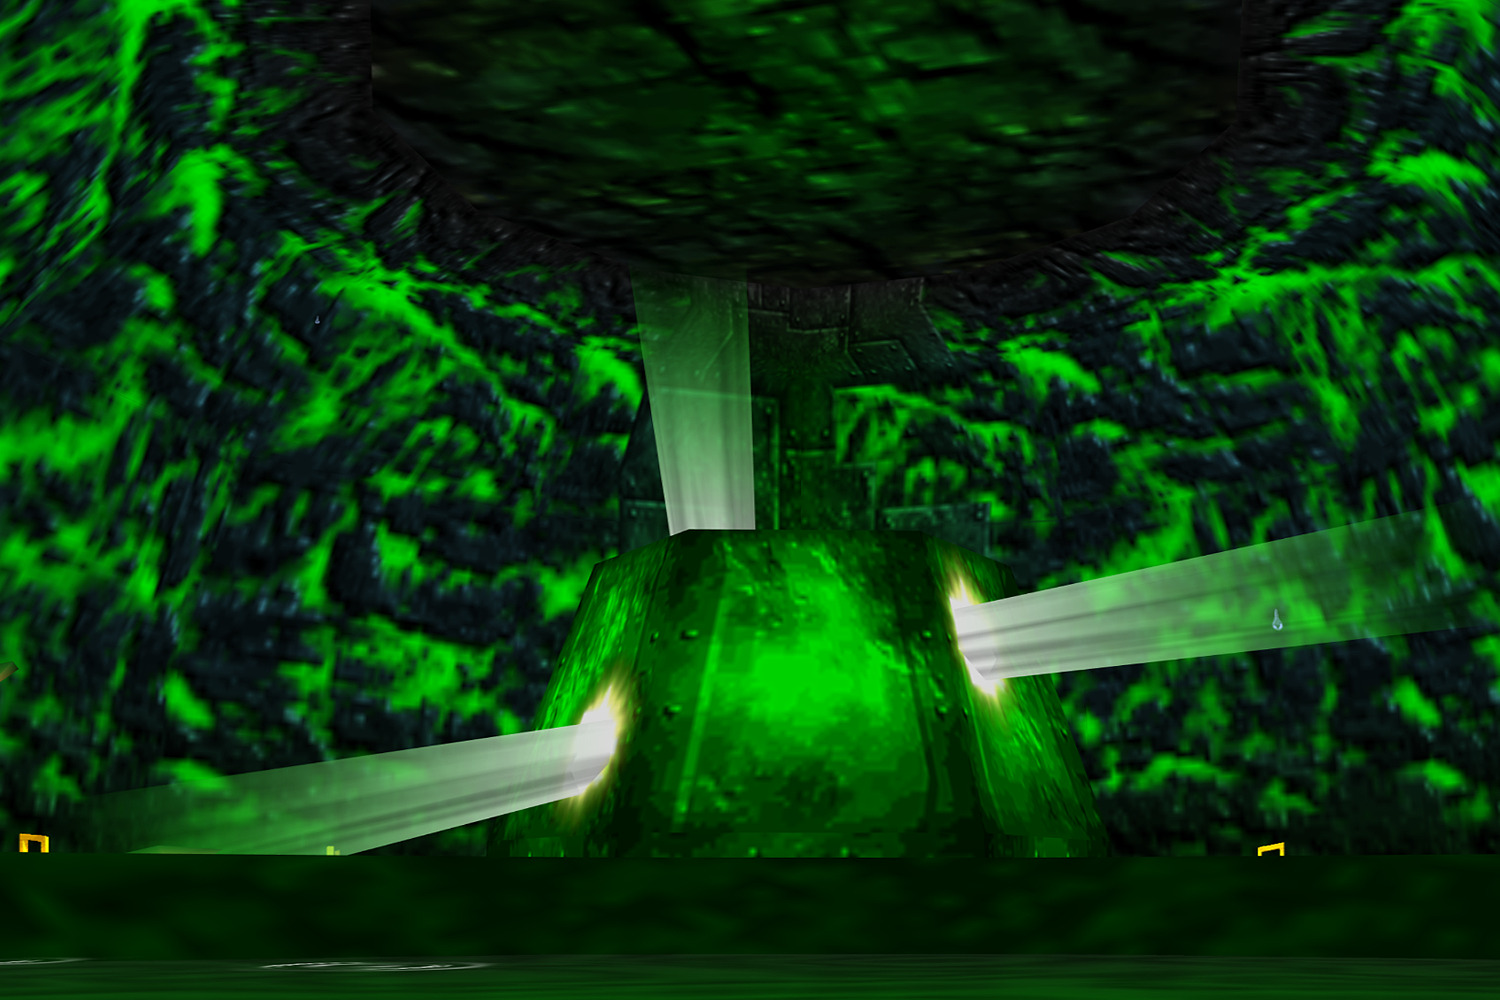
Clanker’s Cavern is a treacherous area filled with many danger and mysteries. The third playable world in Banjo-Kazooie, it is accessible through Gruntilda’s Lair and features a deep central area where players can find a massive iron shark named Clanker. The area is dark and dirty, creating a grim atmosphere that makes it intriguing and daunting. Despite its small size, Clanker’s Cavern is a complex world filled with challenges and puzzles. The central area is home to Clanker, who is desperately seeking fresh air after being submerged in water for far too long. To help him, Banjo and Kazooie must swim down to the bottom of the deep hole where they will find a Massive Anvil containing a Golden Key. After swimming through the key three times, Clanker will be dragged to the surface, and players will be rewarded with a Jiggy, as well as access to the inner sections of Clanker’s Cavern. Inside Clanker’s body, players will encounter rotating propellers equipped with blades that deal damage on collision. To protect themselves, they must first locate Bottles, who will teach Kazooie the Wonderwing technique. This technique allows players to consume Golden Feathers over time and become almost invulnerable against all damage sources. To unlock this world, players must first enter the purple pipe near the One-Hundred-Eighty Note Door. To reach it, they must use Kazooie’s Flap Flip ability on the pipe where water flows out into a pond, leading to Click Clock Wood’s puzzle. Once inside, a switch located on the left side must be pressed by using Kazooie’s Beak Buster to raise the pipes inside the water. To open the world’s entrance the protagonists must complete the world’s picture by collecting five Jiggies, which can be found in the room with the Gruntilda Winkybunion portrait on the ground. Unlike other worlds in the game Clanker’s Cavern does not feature Mumbo’s Skull, meaning players can’t use his transformation service to change the appearance of Banjo and Kazooie. Despite this, Clanker’s Cavern remains a challenging world that rewards players who can navigate its dark and dangerous passages.
» Clanker's Cavern in Banjo-Kazooie Nuts & Bolts
Banjo-Kazooie Nuts & Bolts is a game that offers a unique blend of gameplay elements that are both new and familiar to the fans of the franchise. The game’s third world, called Banjoland, is an exciting world that brings together the most popular elements from previous games. Players will find themselves immersed in a world that is filled with iconic characters, and worlds, such as the Giant Snowman of Freezeezy Peak and the totem god Targitzan of Mayahem Temple. One of the most prominent features is the inclusion of elements from the world Clanker’s Cavern. The huge iron shark, Clanker, who was previously featured in the game Banjo-Kazooie can be found sitting next to the desert that represents the world Gobi’s Valley. In the previous games, he was Grunty’s garbage disposal and was subjected to terrible working conditions. Gruntilda had put a chain on him so he couldn’t get back to the surface and get some fresh air. When Banjo and Kazooie first encountered him, he begged them to help him out. In Banjo-Kazooie Nuts & Bolts, he is involved in one of Lord of Game’s Jiggy-Challenges, where Banjo and Kazooie must protect Clanker since some Gruntbots attack his eyes to cause him to become fully blind. Unlike in the previous games Clanker does not longer talk to the protagonists or make noises like he did in Banjo-Kazooie.
» List of Collectibles
JIGGIES
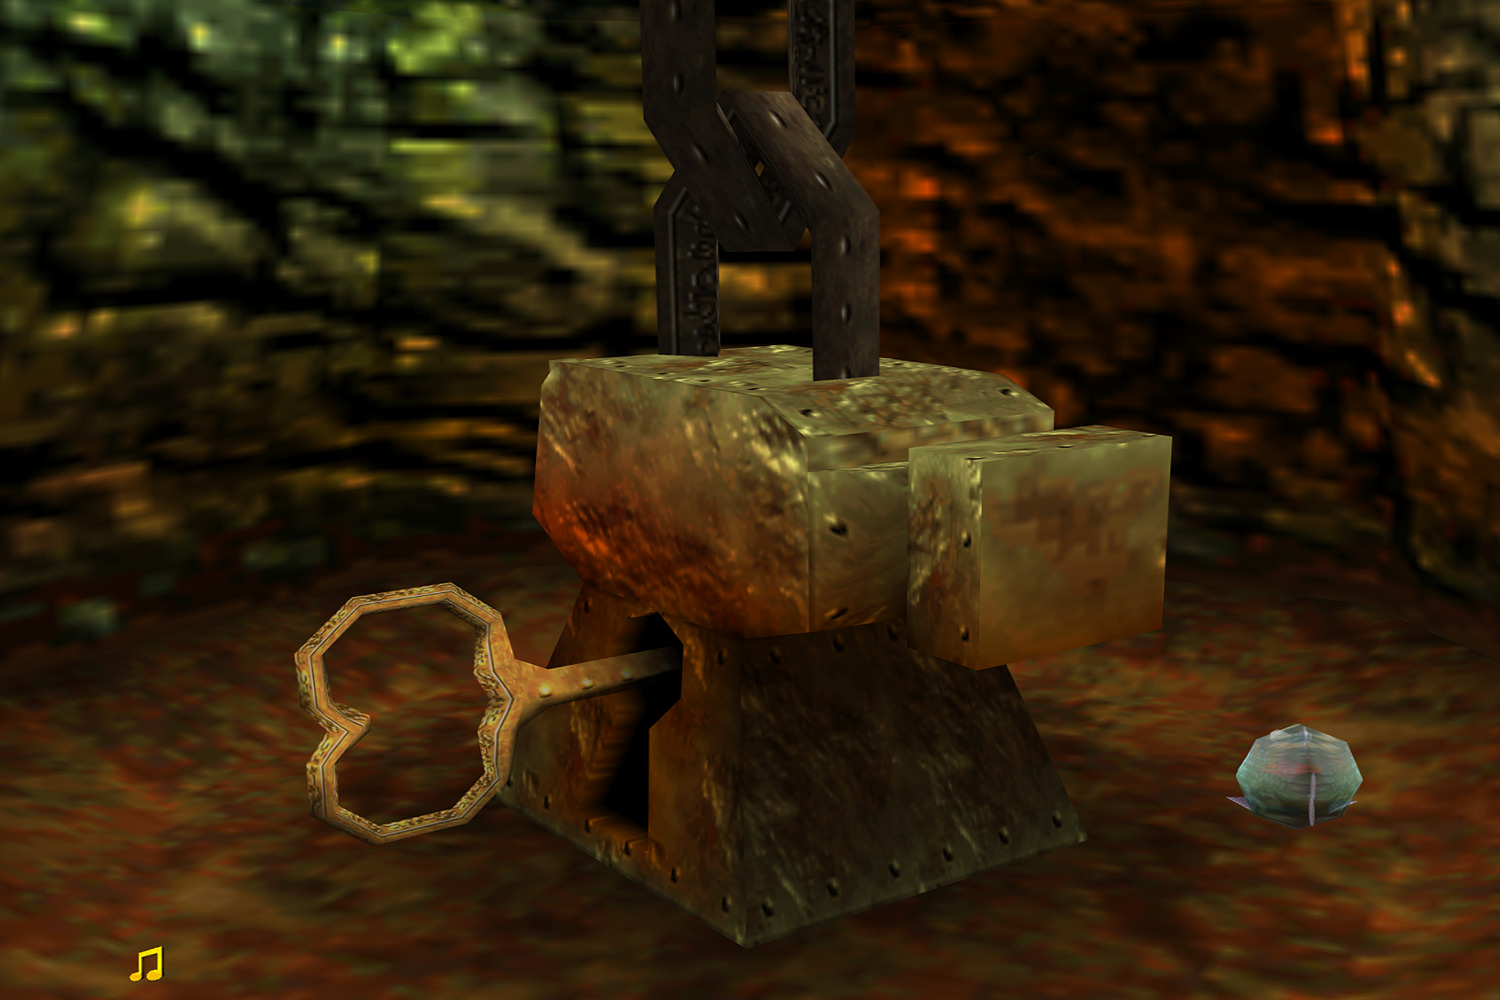
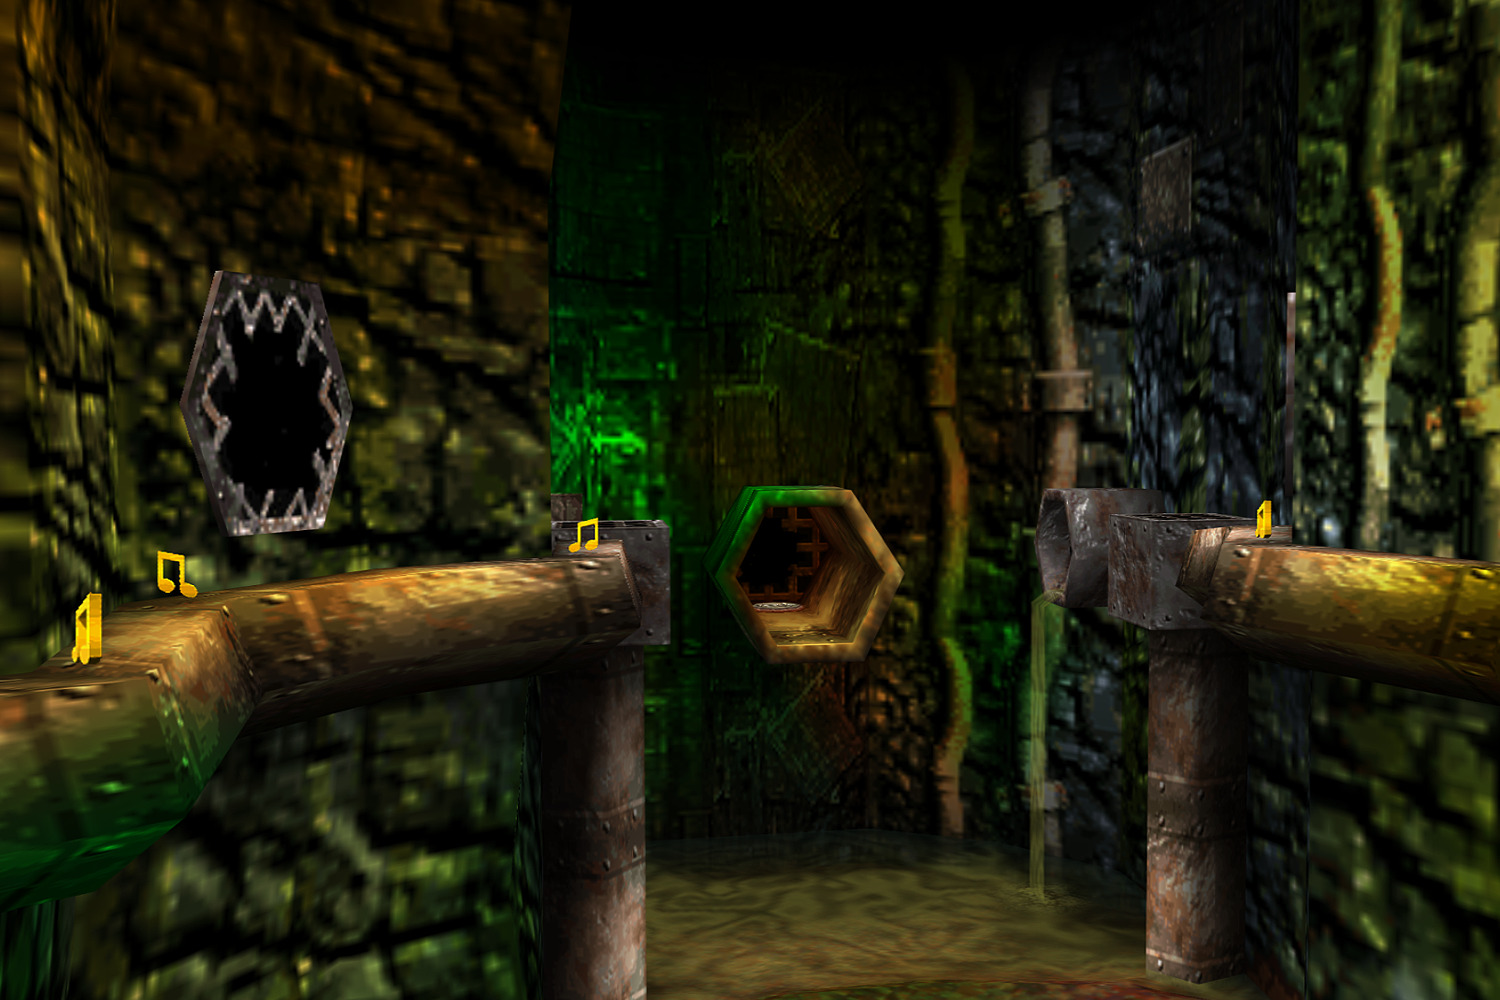
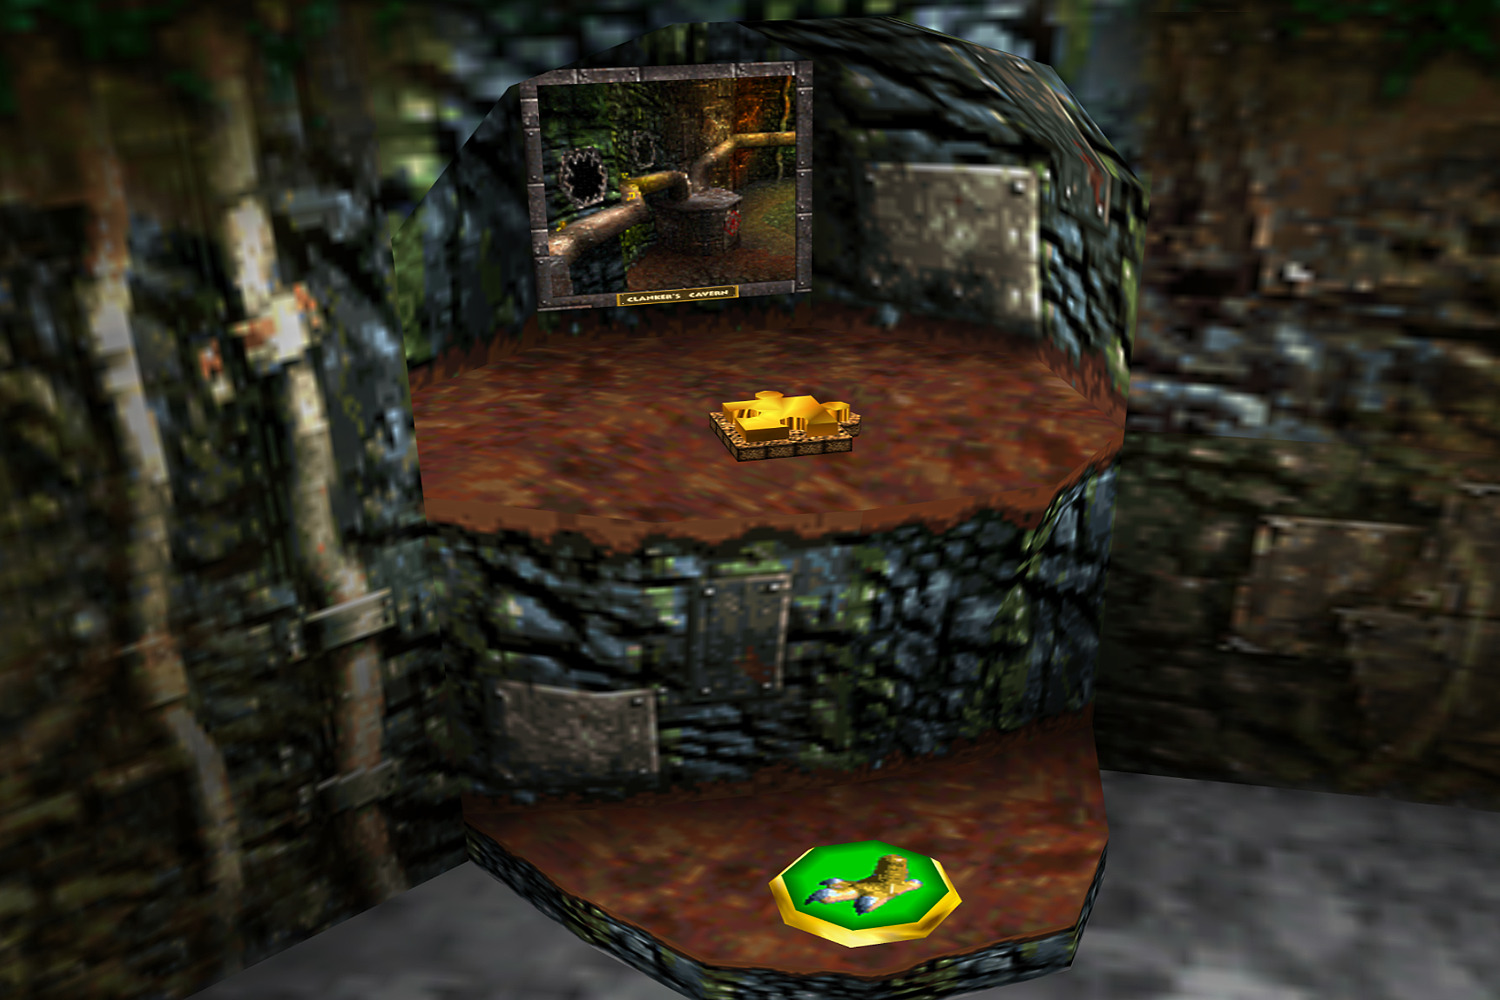
Jiggy #01: Start at the world’s entrance platform and head over to the pond to enter a tunnel leading to Clanker’s Room. Below him there is a deep hole that you must dive down to find a Giant Anvil, where you have to swim three times through the Golden Key to receive a Jiggy.
Jiggy #02: After dragging Clanker back to the surface, get up on his back and stand on the screw, bringing you to a higher level. From there, walk on the pipe in front of you and slowly make your way to the end, where you can find a Jiggy in an alcove that is above the pipe.
Jiggy #03: In front of Clanker’s eyes there are two floating platforms that you can use in order to stop his toothache. Stand on the right platform and look in Clanker’s direction to fire three Blue Eggs on his golden tooth, causing a small hole that you can enter to find the third Jiggy.
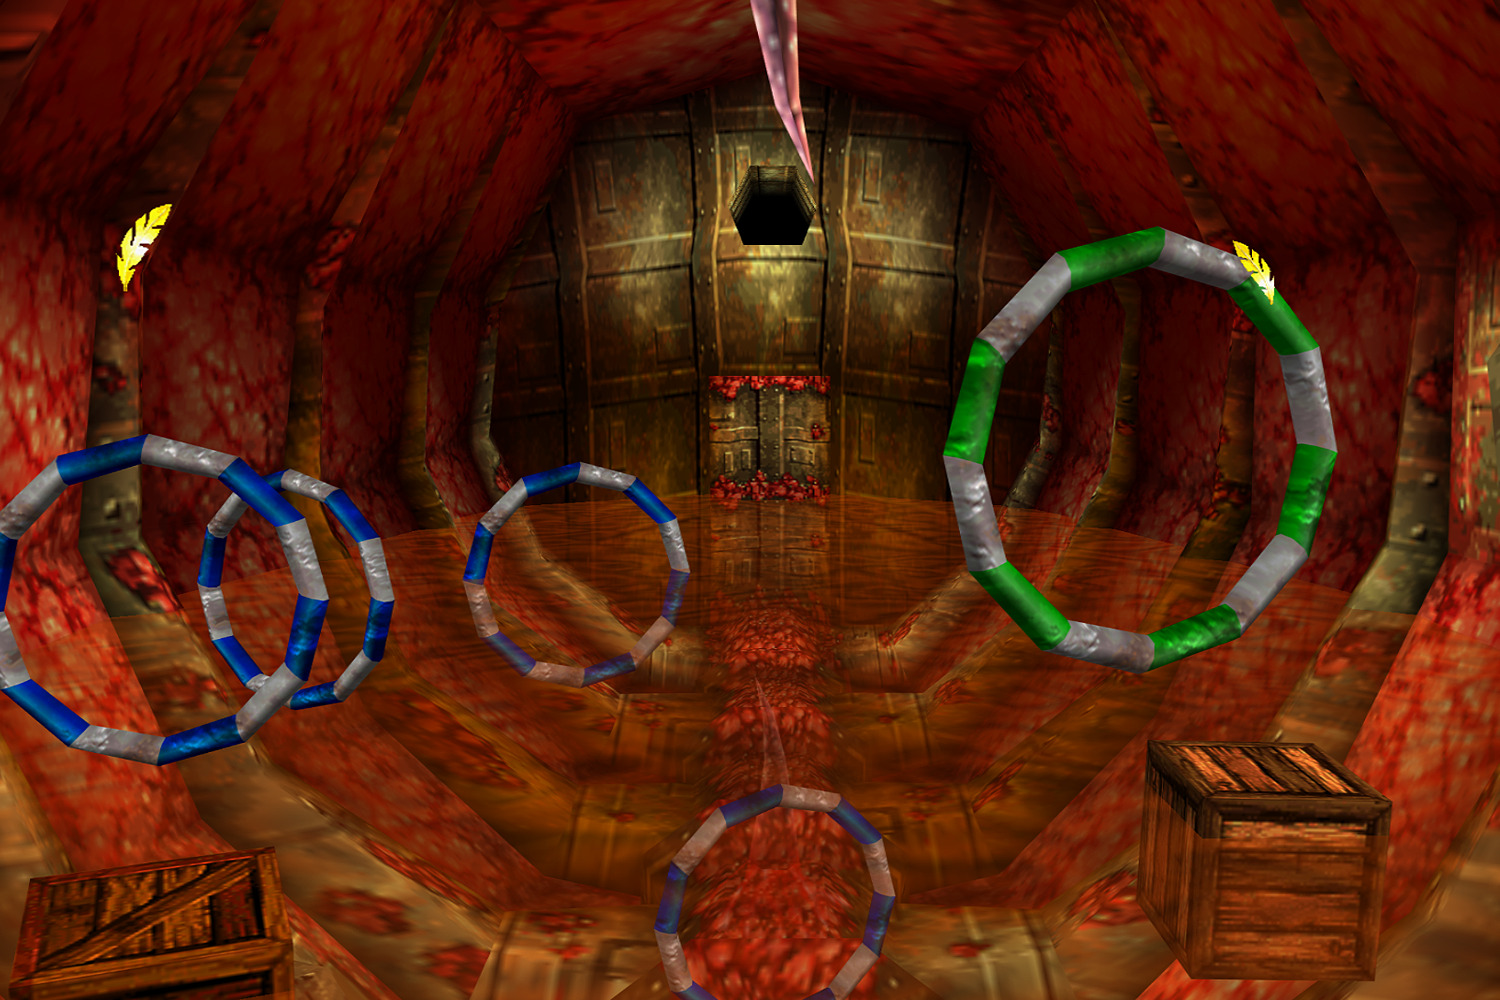
Jiggy #04: Inside of Clanker, head over to his stomach to find a series of blue rings floating in the air. Jump through the green hoop to start a time challenge and jump through each green hoop before the time runs out in order to raise the water level and to let this Jiggy appear.
Jiggy #05: After raising the water level in Clanker’s Stomach, use the Flight Pad to reach the door above located on the opposite. Inside the room, Bottles will teach you the Wonderwings technique, allowing you to get the golden Jiggy on the other side without taking damage.
Jiggy #06: After dragging Clanker back to the surface, climb up his back and turn around to walk up his big fin and hop onto the platform with some the Red Feathers on it. In front of you there is a cage with a Jiggy inside that you can open up by firing three Blue Eggs on it.
Jiggy #07: In Clanker’s Room, dive in the water and keep looking for a tunnel that is flickering green. Swim inside and follow the tunnel to the end until you come out in a Green Chamber along with four Mutie-Snippets, while defeating all of them rewards you with a golden Jiggy.
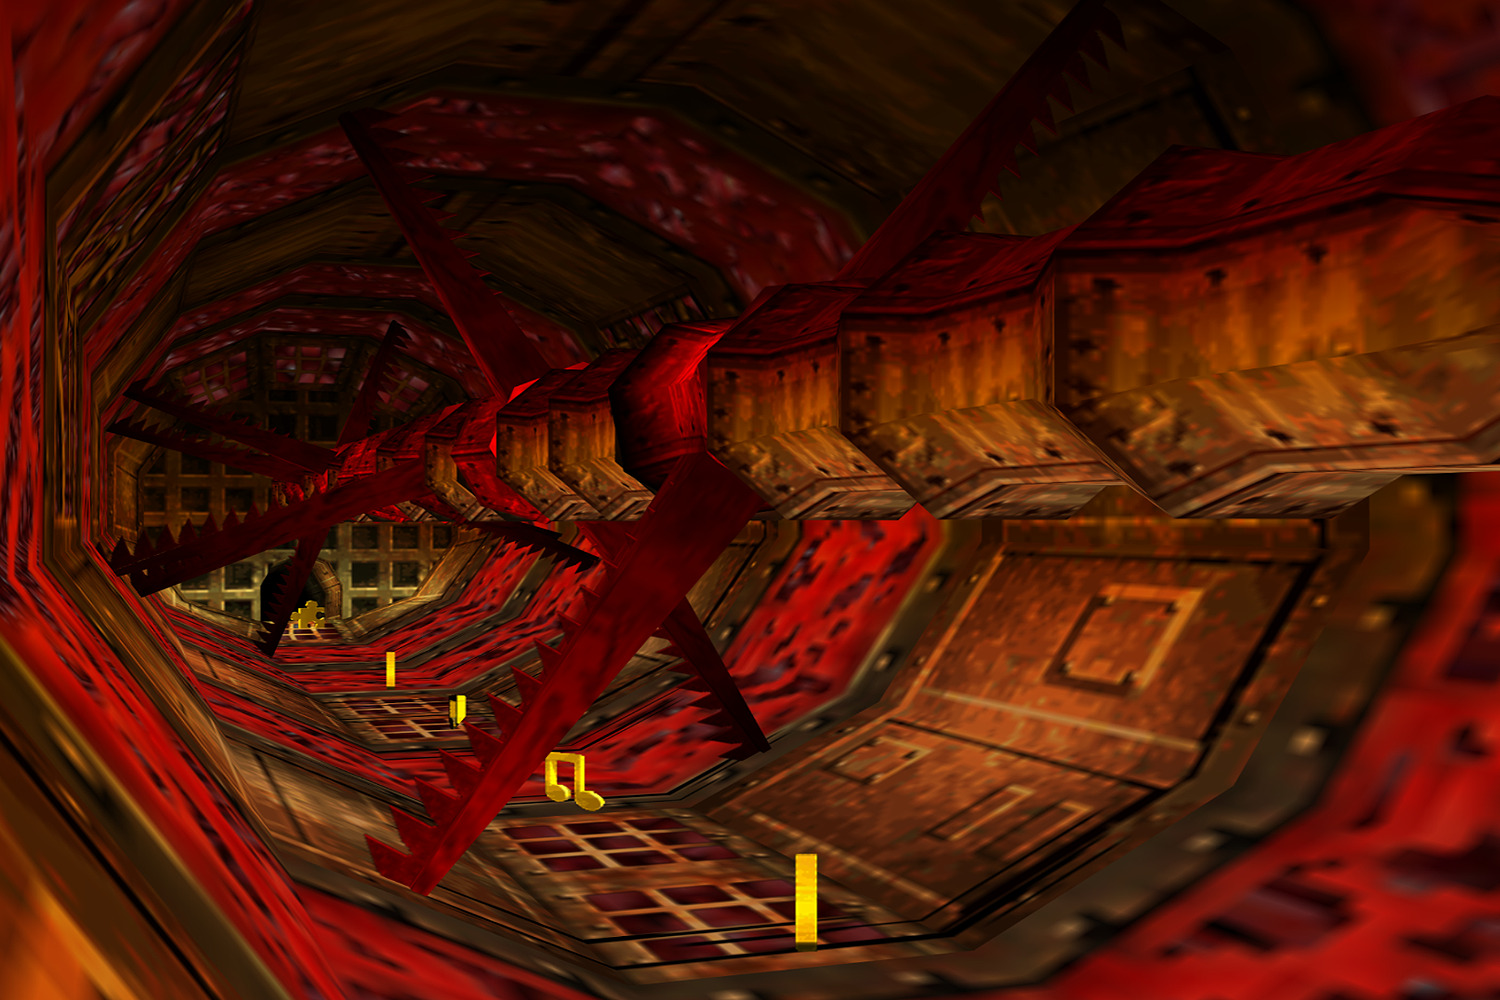
Jiggy #08: After dragging Clanker back to the surface, get up on his back and wait until the screw is jumping up, allowing you to enter the hole. In the tunnel, there are several rotating razor blades and a Jiggy on the other side that you can grab by making your way through it.
Jiggy #09: To earn this Jiggy, you have to find and collect all five different colored Jinjos that are hidden in the world Clanker’s Cavern. As soon as you have found and collected the last Jinjo of this world, they will reward you with a Jiggy that can be picked up on the ground.
Jiggy #10: From the entrance platform, head over to the tunnel that leads to Clanker’s Room and dive in the water, where two pipes are connected with each other. One of them is locked by a grid and holds a Jiggy behind, meaning that your exit is the same way you came from.
MUSICAL NOTES
✤ On the upper edge near the entrance platform (8)
✤ Inside the tunnel that leads to Clanker’s Room (6)
✤ Around the Giant Anvil with the Golden Key inside (8)
✤ Inside Clanker’s mouth (8)
✤ On the back of Clanker (10)
✤ Inside Clanker’s left gill (3)
✤ Inside a pipe in Clanker’s Room (8)
✤ Returning to the right branch of Clanker (5)
✤ On the high hose at the back of Clanker’s Room (10)
✤ Around the pillar in the Green Chamber of the Mutie-Snippets (8)
✤ On a platform located above Clanker (4)
✤ In the cornices at the top left side of Clanker’s Room (2)
✤ Inside Clanker in the room with fast rotating blades and Bottles hill (6)
✤ On the mast next to Clanker’s right fin (4)
✤ In the room with rotating blades and the Witch-Switch (6)
✤ On the second mast while sliding down the large pipe (4)
EXTRA HONEYCOMBS
Extra Honeycomb #01: For the world’s first Extra Honeycomb, you have to face into Clanker’s direction and swim to the right side. Once there, you will notice a pipe that has its end slightly submerged underwater, which you must enter from below to find the first Extra Honeycomb.
Extra Honeycomb #02: To get the second Extra Honeycomb, you must head over to the pipe where you could find the orange Jinjo. From there, Talon Trot down the side and jump over to the next pipe, where you must Beak Bust the iron grid to pick up the last Extra Honeycomb.
MUMBO TOKENS
✤ Above the world’s entrance platform
✤ In front of a Grille Chompa behind Clanker
✤ On the ground inside an underwater pipe in Clanker’s Room
✤ In an alcove after climbing up a pipe near Clanker’s left fin
✤ On the left golden tooth inside Clanker’s mouth
JINJOS
Jinjo #01: To get the pink one, you must drag Clanker back to the surface by swimming three times through the golden key. Now swim over to his left gill and enter it, where you can find a deep hole at the bottom, holding the world’s first Jinjo who is sitting next to a Whiplash.
Jinjo #02: From the entrance platform, head over to the tunnel that leads to Clanker’s Room and dive in the water, where you will discover multiple tunnels inside the wall. Two of them are connected with each other, while the blue Jinjo is on the ground in the center of the tunnel.
Jinjo #03: This Jinjo is inside a pipe above the water and can be reached by using Clanker’s left fin to get on the platform. Now use the Shock Spring Pad to grab onto the pipe and climb it up to jump over to the bigger one, where you must Beak Bust the grid to pick up the Jinjo.
Jinjo #04: As soon as you enter Clanker’s Cavern, jump down the pipe and climb up the ledge by using the ladder next to the poison sign painted on the wall. From there, follow the pipe on the right side and jump over to the tall pillar to pick up the yellow Jinjo behind a beehive.
Jinjo #05: Start at the world’s entrance platform and head over to the pond to enter a tunnel leading to Clanker’s Room. Below him there is a deep hole that you must dive down until you reach the bottom, where the green Jinjo can be found towards the wall of the Giant Anvil.
EXTRA LIVES
✤ At the end of the pipe that holds the orange Jinjo
✤ On a platform that is next to Clanker’s left fin
✤ Inside an alcove after climbing up a pipe next to Clanker’s right fin
WITCH SWITCH
Witch-Switch #01: To find the world’s Witch-Switch, make your way up to Clanker’s back and enter the hole. Once done, it can be found behind you in the tunnel with rotating razor blades and rises up the eyes of the Gruntilda floor portrait that can be Beak Busted for a Jiggy.