
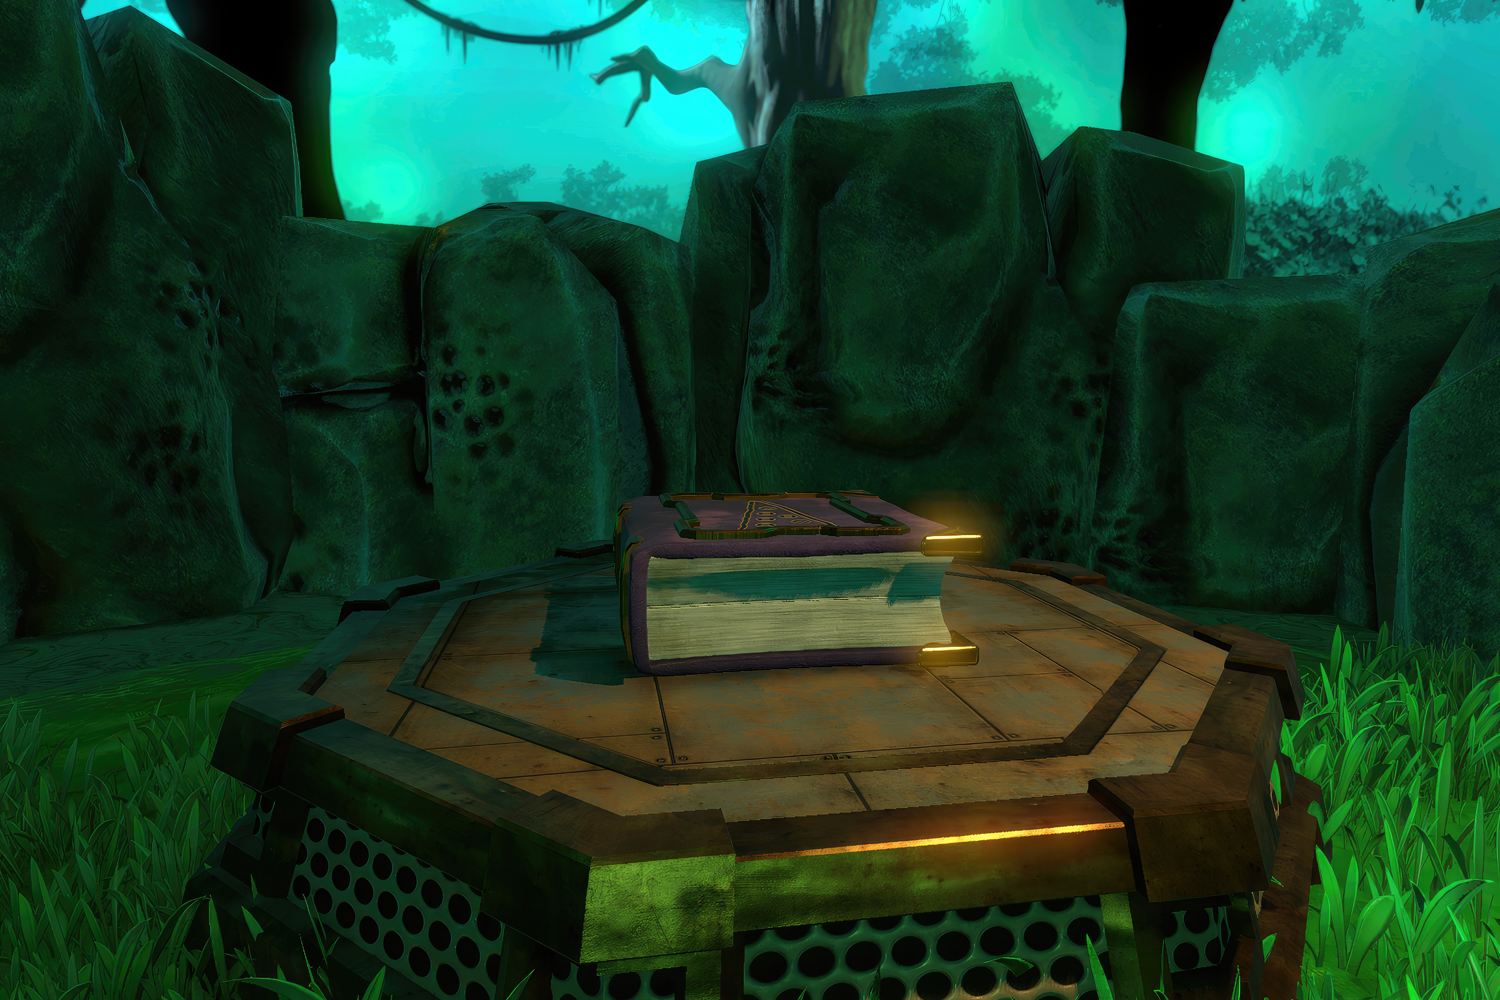
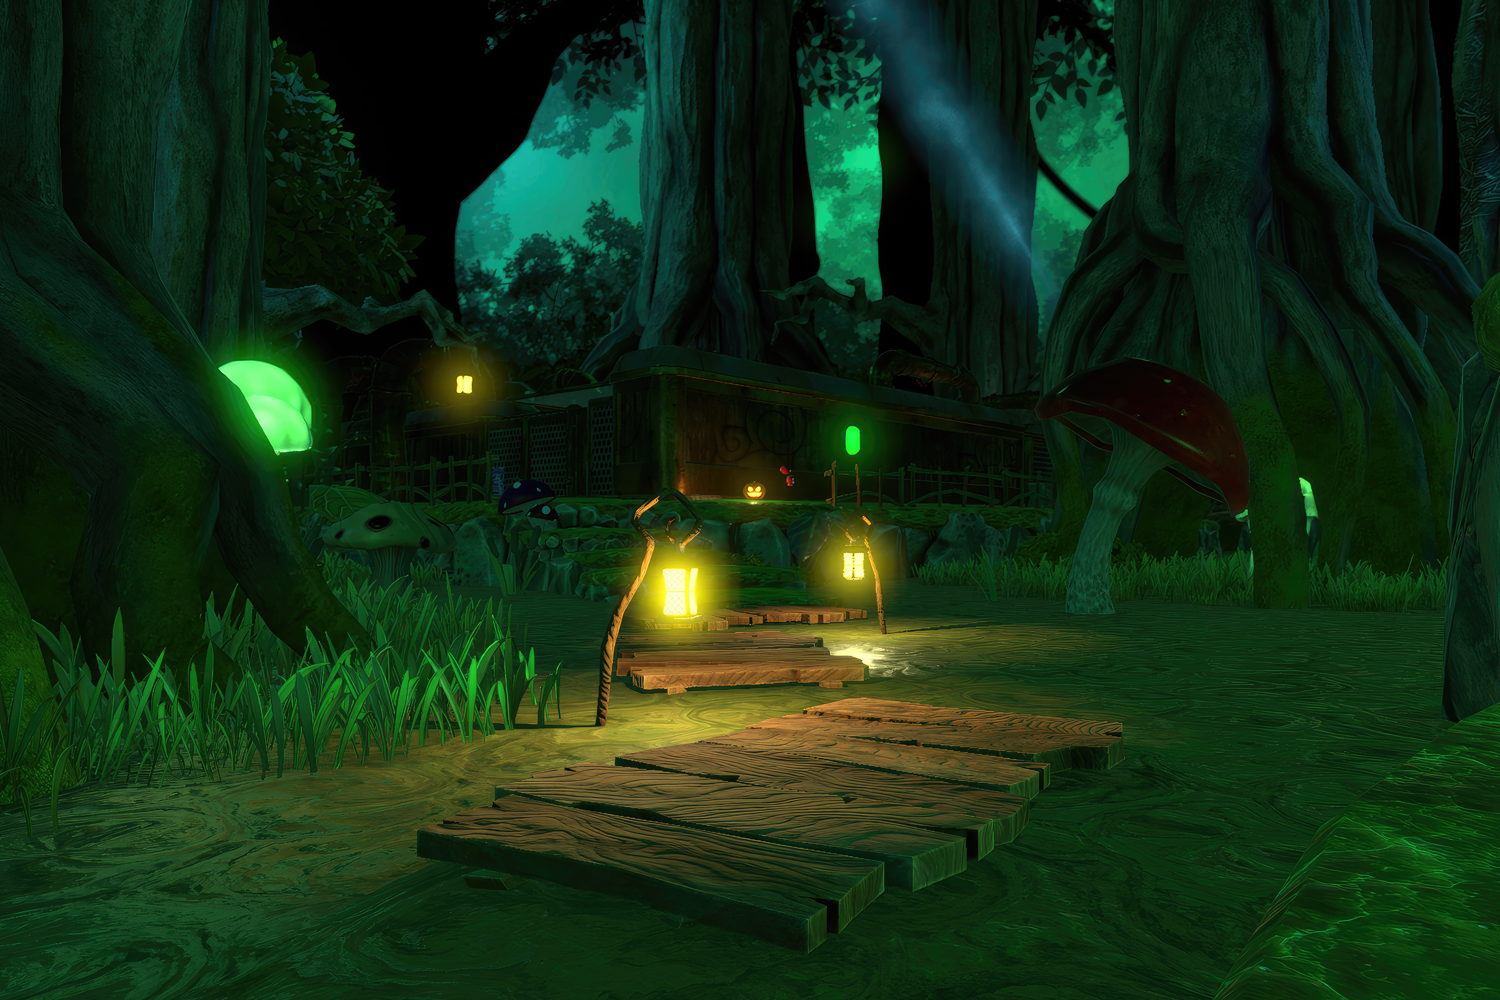
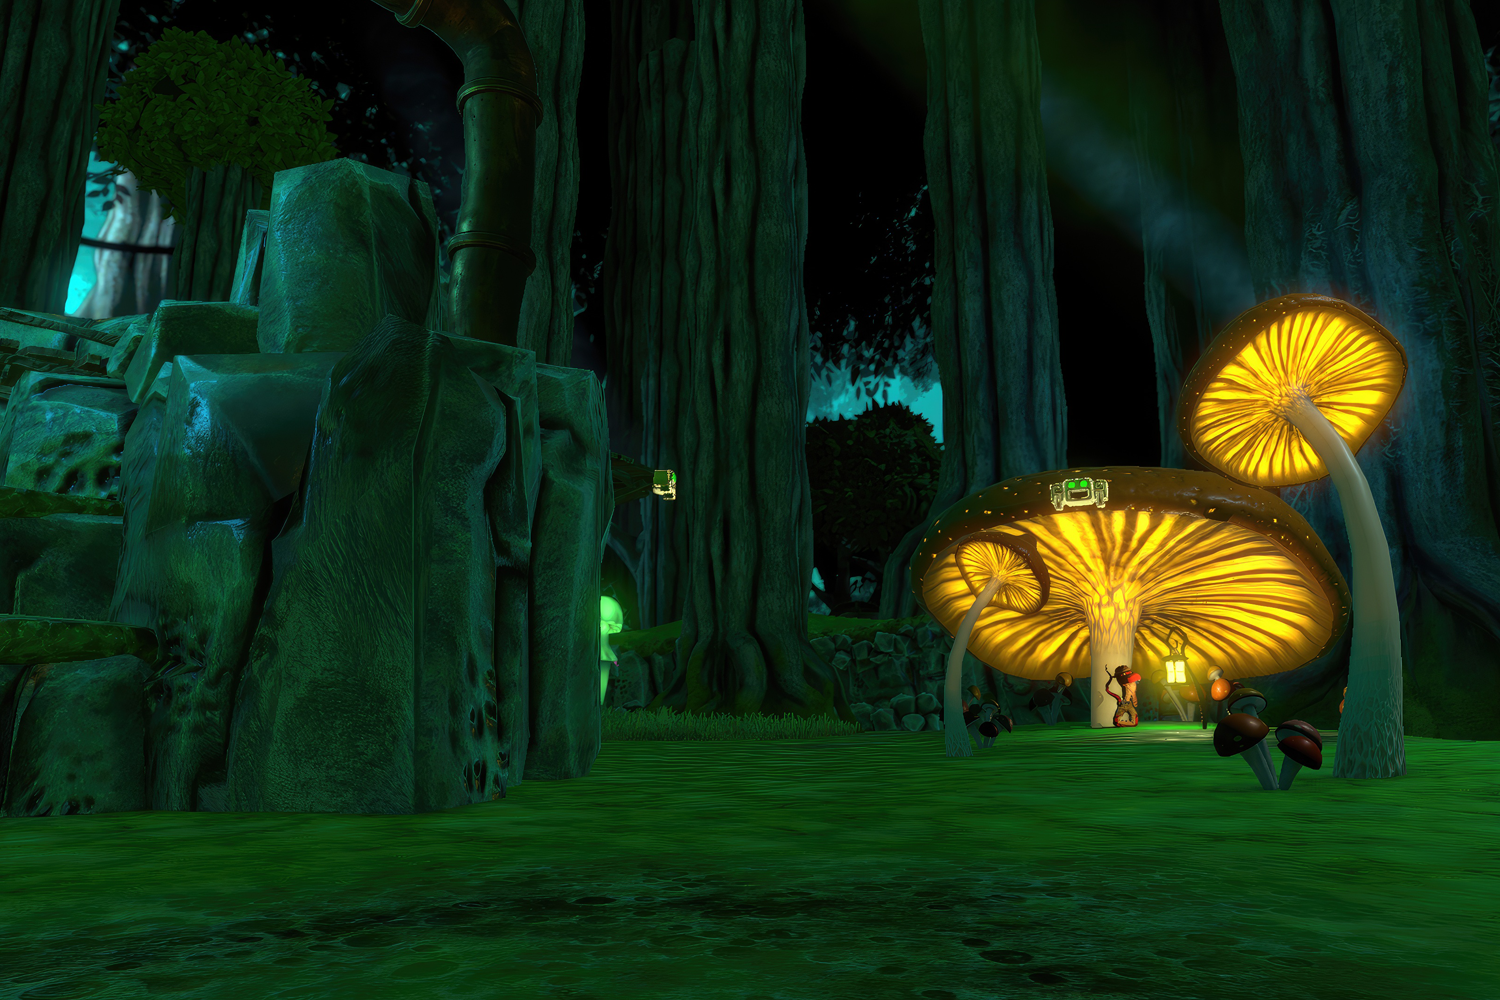
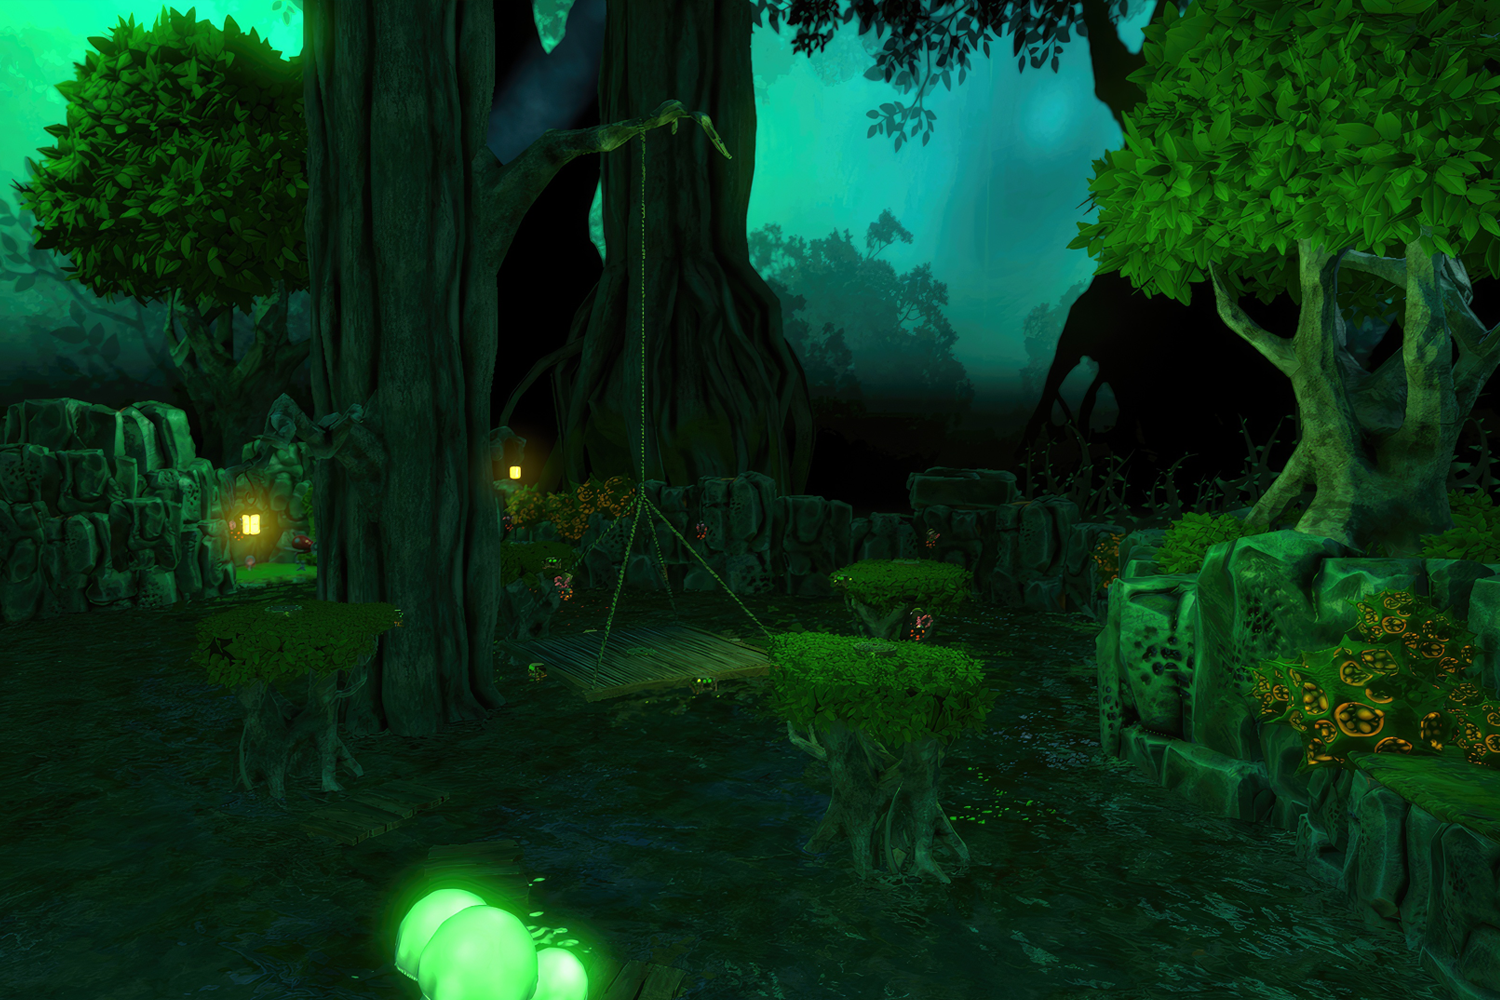
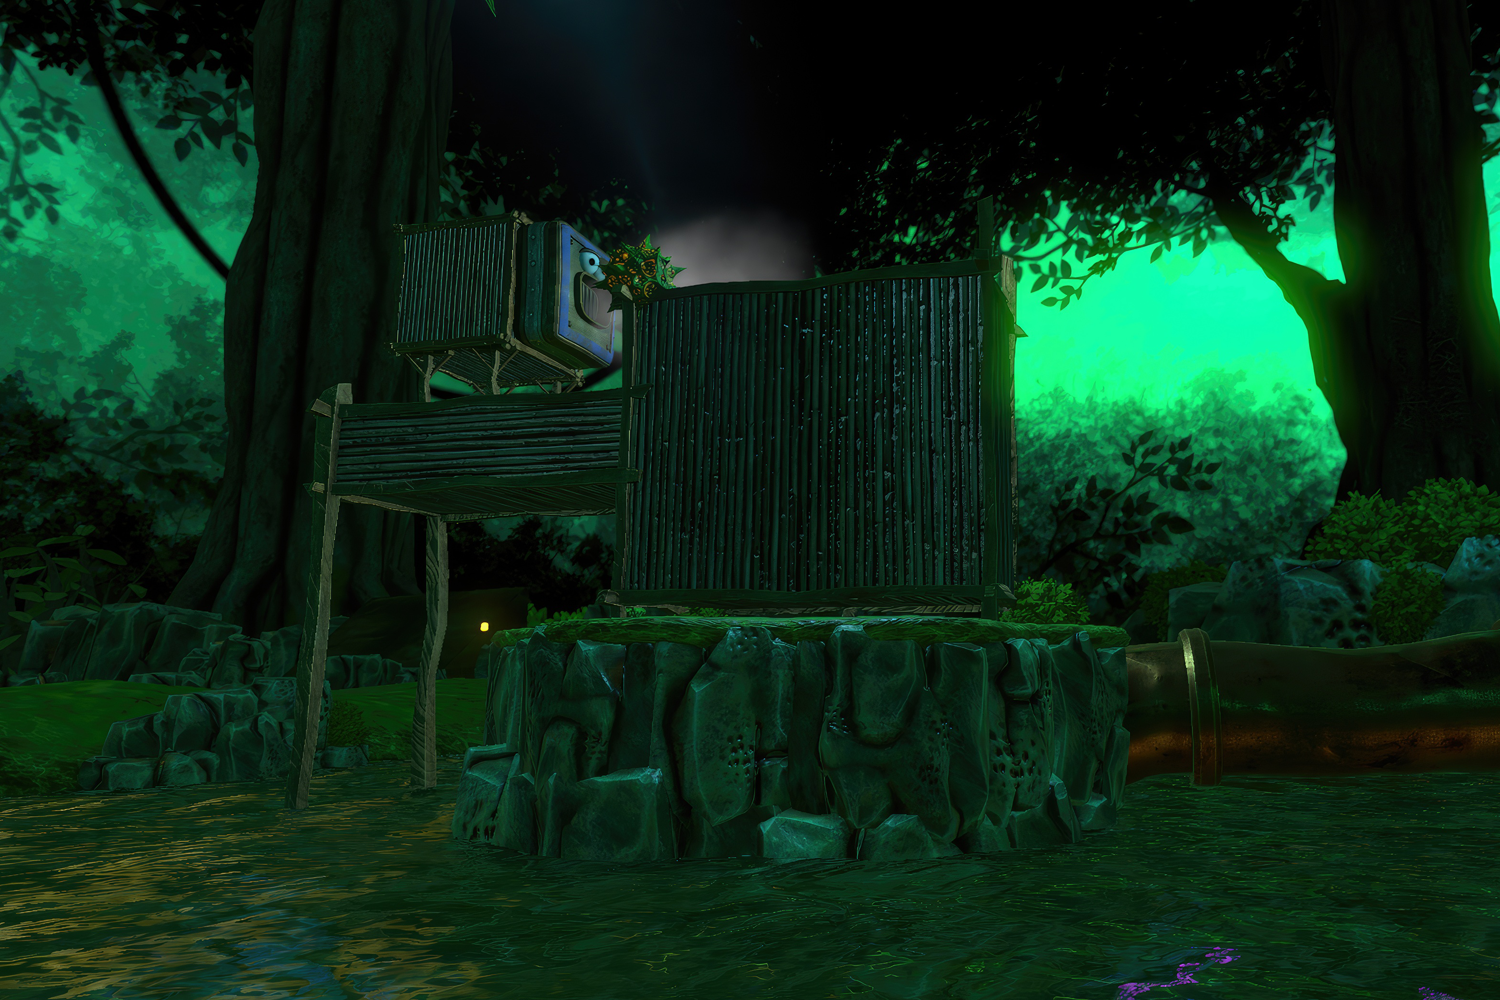
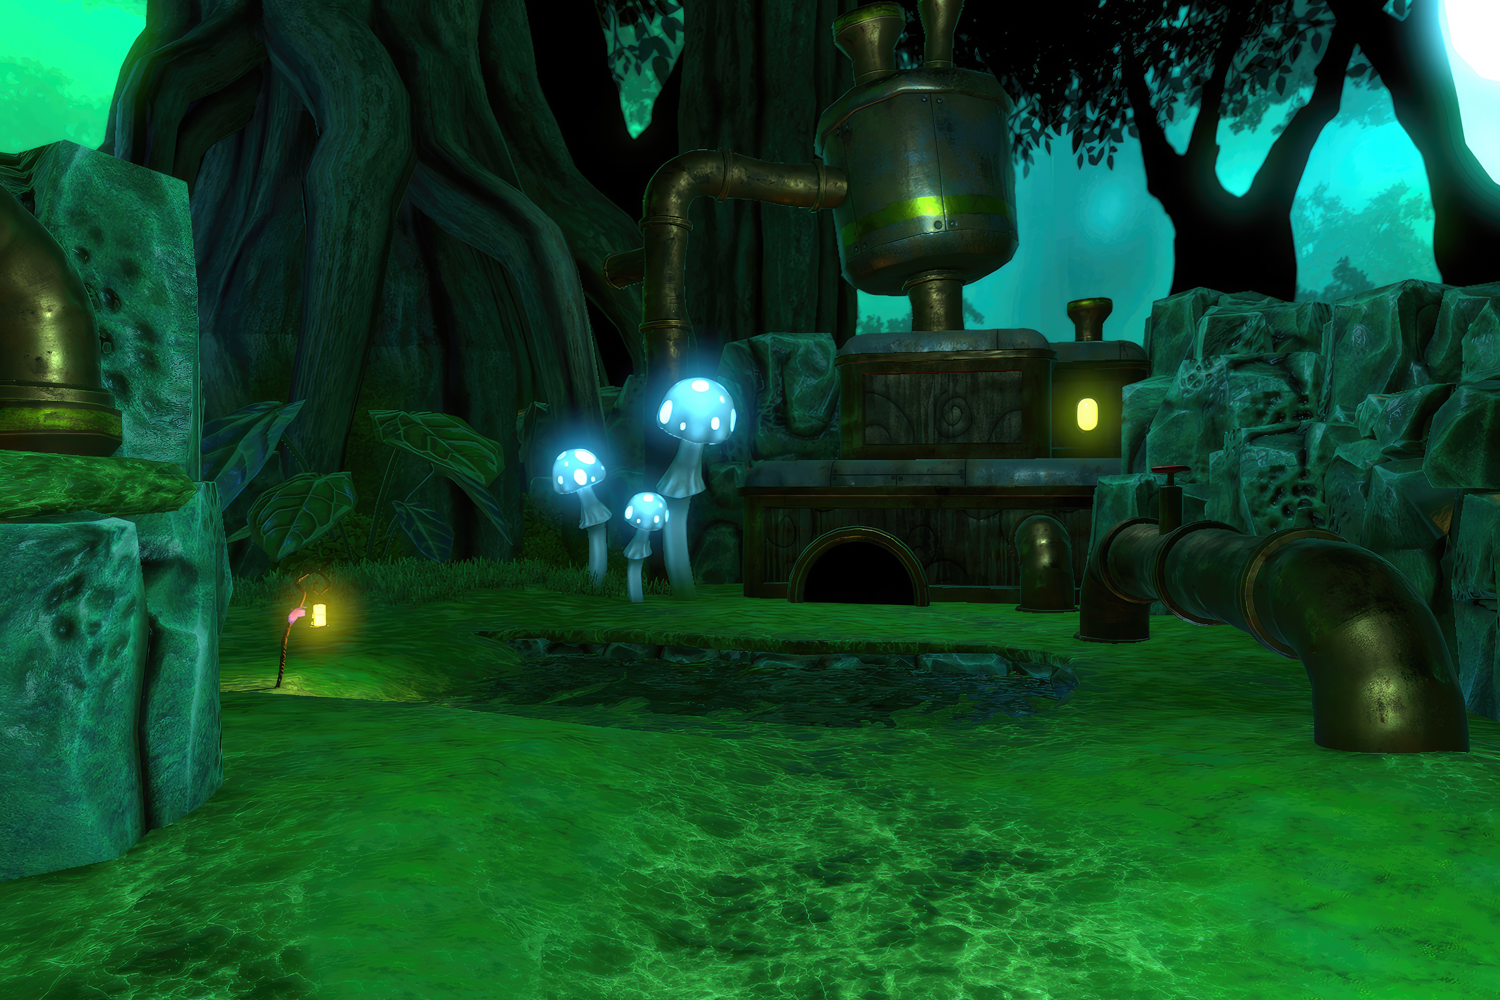
Moodymaze Marsh, a desolate and swampy realm, acts as the third playable world in the game Yooka-Laylee. It’s accessible through Hivory Towers and features a sprawling labyrinthine maze as its central feature, characterized by towering trees, colossal mushrooms, and an assortment of plant life, including a hazardous thorny species that inflicts damage upon contact with Yooka Laylee. Renowned among players as one of the most challenging locations, Moodymaze Marsh presents numerous perilous terrains, including treacherous swamps that harm the protagonists when traversed. To facilitate Yooka and Laylee’s passage through the swamps, wooden logs are placed, offering a means of accessing unexplored areas. Within the world, various structures dot the landscape, including the foreboding Moodymaze Labyrinth, wherein the duo must navigate amidst encroaching electrical walls. Moreover, a vast underwater network can be discovered by the protagonists, accessible through pipe systems within the Moodymaze Lagoon. Also, certain pipes can only be accessed while utilizing the transformative powers of Dr. Puzz, specifically the Piranha Form. Other points of interest within this world are the Mushroom Garden, adorned with colossal mushrooms, and the Pumping Plant, featuring a tricky puzzle that challenges players to manipulate buttons to guide a cube through a vertical maze. During their journey in Moodymaze Marsh, Yooka and Laylee encounter Trowzer, a character who imparts two new abilities. For the price of sixty Quills, they can learn the Lizard Lash, an ability that enables them to automatically lock onto Grapple Points when in close proximity. Moreover, the Sonar Splosion can be obtained for the same price, providing the ability to emit a powerful sound capable of shattering glass and ice cubes. To gain entry into Moodymaze Marsh, the protagonists must amass seven Pagies and present themselves atop the podium before the Grand Tome, found in the Waterworks of Hivory Towers. Upon unlocking Moodymaze Marsh, players have the option to expand its contents with additional Pagies, revealing new structures opening up further opportunities for exploration.
» Expansion of Moodymaze Marsh
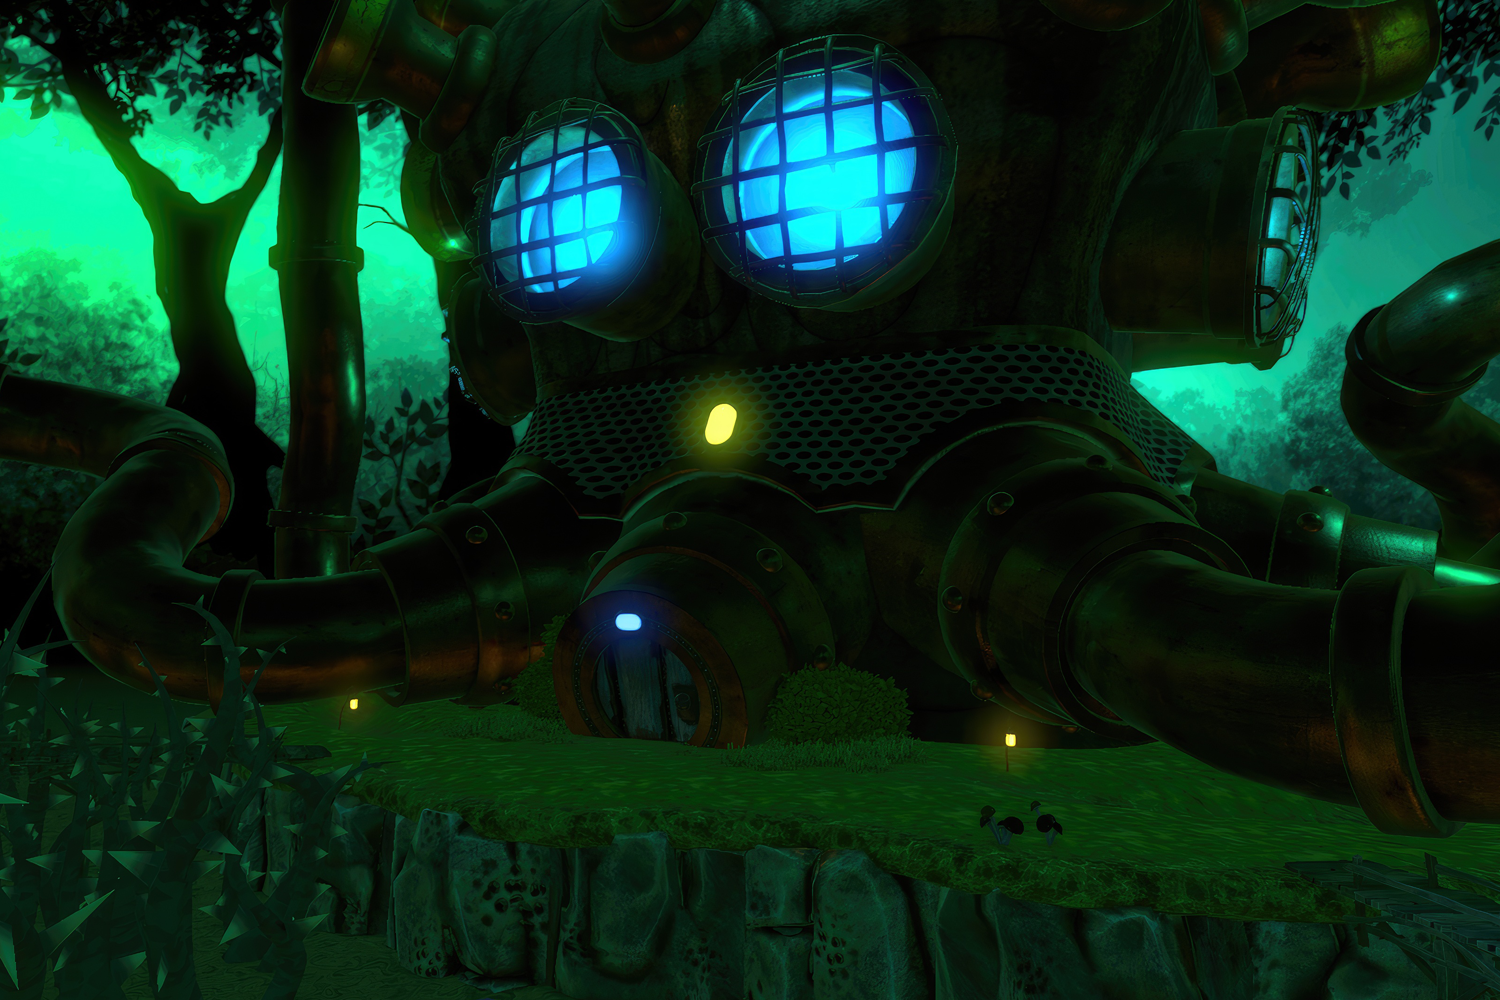
Upon unlocking Moodymaze Marsh, players are presented with an opportunity to enhance their gameplay experience by utilizing eight Pagies at the podium of the Grand Tome. This expansion reveals a plethora of previously concealed structures that significantly augment the world. Upon entering Moodymaze Marsh, a notable inhabitant, in the form of a pumpkin, generously provides a concise tour of the newly unveiled additions through a short sequence. Among the noteworthy additions, the big Moodymaze Bunker stands out as an extraordinary structure. Resembling the shape of a mollusk, it’s situated on the periphery of Moodymaze Lagoon, serving as the dwelling place of the world’s boss known as Trev the Tenteyecle. Another remarkable feature is the Foggy Pit, an area enveloped entirely in mist, rendering it impermeable to exploration without the use of Laylee’s Sonar Splosion to disperse the fog. Within this enigmatic environment, menacing thorns dangle from the ceiling, and large blocks of glass obstruct the paths, with one of them housing a precious gem sought after by Clara Lost. Adjacent to these locations, players will stumble upon Planker’s Garden, where an amusing case of mistaken identity happens. Mistaken for gardeners by Planker, the heroes are tasked with planting mushroom seeds in all available holes to receive a Pagie as a reward. Moreover, the discovery of Hotswitch Hollow adds another dimension to the game world. This underwater expanse comprises four distinct chambers, each containing timed switches that requires swift activation, as they reset after a brief interval. Through the utilization of these refined descriptions, the features of Moodymaze Marsh and its associated sections are presented in a more detailed manner, elevating the overall discourse surrounding the game.
» List of Collectibles
PAGIES
Pagie #01: The first Pagie is found just after the start of the level. Upon pressing a button, you must navigate across a small river, taking care not to create any splashes that would cause the cage to drop. Make use of the Glide technique to land on the plank and claim your prize.
Pagie #02: Interact with Ollie, the trolley outside the Moodymaze Labyrinth, to receive access to the building. Once inside, exercise caution as the walls will electrify and move, chasing you down. Make it through the labyrinth and reach the end to be rewarded with a golden Pagie.
Pagie #03: From the Moodymaze Labyrinth follow the path to Wally, who will challenge you to destroy all the nearby mushrooms to receive a Pagie. Utilize the Sonar Splosion ability, which you have acquired from Trowzer and swiftly eliminate the mushrooms to claim your reward.
Pagie #04: Seek out a submerged second hole teeming with water and plunge into its depths to activate the button. Maneuver adeptly through the treacherous spiky rocks to acquire the Pagie and make sure that you employ the Buddy Bubble ability to greatly facilitate your task.
Pagie #05: After passing through a small tunnel filled with water and spiky rocks, you’ll come across this Pagie. Utilize Yooka’s Lizard Lash technique to pull down a box and climb a series of platforms. At the end of the platforms, you can find a golden Pagie trapped inside a cage.
Pagie #06: In a compact structure, following the tunnel filled with water and spikey rocks, you will find a Pagie. Press the three buttons, triggering an airflow that propels a block through a labyrinth and maneuver it to ensure it lands on a designated button, unlocking a rare Pagie.
Pagie #07: A Pagie dangles tantalizingly within a cage, following a segment where logs float upon the water. To liberate it, you must employ the Slurp Shot to ingest a fire seed and exhale flames into a tube, severing the restraining rope and releasing the Pagie after a brief delay.
Pagie #08: Jolly the trolley will assign you the task of activating the water filter by pressing all the buttons, beginning with the one next to him. Use the Lizard Lash to pull the block forward and use it again to reach the other spinning platforms within the given time limit for a Pagie.
Pagie #09: Having successfully purged the Moodymaze Lagoon, another valuable Pagie lies submerged amidst a thorny predicament. To secure it, you have to employ the Piranha Form from Dr. Puzz and utilize your newfound swimming ability to traverse all the thorny obstacles.
Pagie #10: To discover another Pagie, swim beneath the clean water of Moodymaze Lagoon and enter a pipe leading to Murky Passage. Navigate through the halls, using Buddy Bubble to press buttons and open gates, while at the end of the Murky passage, your Pagie awaits.
Pagie #11: Below the clean water of Moodymaze Lagoon, accessible through a pipe leading to Swampy Station, you’ll find this Pagie. Use the Reptile Rush skill to break through the glass and proceed through several rooms, pressing buttons with Reptile Rush to reach the Pagie.
Pagie #12: In Dusty Duct, a section submerged underwater, you can find this Pagie. To reach it, you’ll need to transform and overcome the thorns blocking the pipe. Navigate through the maze and you’ll find a trolley beneath a pile of bones that you must free to receive a Pagie.
Pagie #13: Engage in an epic battle with Trev the Tenteyecle, the world’s boss residing within the Moodymaze Bunker. Unlocking access requires to extend the boundaries of Moodymaze Marsh, while emerging victorious in this encounter rewards you with another golden Pagie.
Pagie #14: After expanding the world’s Grand Tome, cross the new floating wooden logs until you reach a rock formation with pressure plate lifts. At the top of this formation, you’ll find the Pagie, but you have to be cautious as it is surrounded by numerous enemies within a cage.
Pagie #15: Proceed along the expanded path until you find a series of Lizard Lash platforms engulfed in flames and discover a hidden brazier in a corner next to one of the platforms. Use Yooka’s Slurp State to carry a coal to the top and Buddy Slam the button to obtain a Pagie.
Pagie #16: To obtain another Pagie of Moodymaze Marsh, interact with the pumpkin located near the green pipe close to Carla Lost. The pumpkin will challenge you to clear an Obstacle Course within the allotted time. Succeed in his challenge, and he’ll reward you with a Pagie.
Pagie #17: When you assist Clara Lost in clearing out a cave system and traversing a tunnel near the building surrounded by a moat, she’ll reward you with a Pagie. Inside the tunnel, use Laylee’s Sonar Splosion to uncover a gem and return to Clara Lost to earn a valuable Pagie.
Pagie #18: Descend below the water in the moat next to some bones, within a newly unveiled section known as Hotswitch Hollow, where multiple rooms pose a similar challenge. You must exhibit remarkable speed to press all the buttons simultaneously, to find a Pagie at the end.
Pagie #19: As you explore the expanded world, you will come across a slanted wall adorned with Quills. Roll over the ramp created by the wall and it will lead you to a pipe. Enter the pipe and successfully complete the race track before the timer runs out to obtain another Pagie.
Pagie #20: This Pagie can be received in Planker’s Garden, who mistakens Yooka and Laylee for gardeners. Planker requests them to knock down the mushroom seeds in his garden and push these seeds into the holes in the ground, while avoiding the thorns for a valuable Pagie.
Pagie #21: Once you acquire the Arcade Token, engage in a conversation with Rextro, which enables you to insert the coin into the machine and play in his game, Bee Bop. Your objective is to vanquish as many enemies as you can within a specific time to get a Pagie from Rextro.
Pagie #22: Engage in a challenge posed by Rextro, who dares you to surpass his high score in the Bee Bop game. Amass more than 4000 points in this captivating game and you should emerge triumphant, causing Rextro to graciously reward your achievement with this Pagie.
Pagie #23: To obtain this Pagie of Moodymaze Marsh, you must find and collect all five Ghost Writers that are scattered throughout the world. Once you’ve collected the last Ghost Writer in this world, you’ll be rewarded with a Pagie that is automatically added to your inventory.
Pagie #24: Find Kartos lurking in the shadows behind Trev the Tenteyecle’s edifice. Succumb to his plea for aid and embark on a mini-game replete with perils, all while amassing no less than 125 gems. Triumph over the ensuing obstacles and you will be rewarded with a Pagie.
Pagie #25: To receive this valuable Pagie of Moodymaze Marsh, you must find and collect all two-hundred Quills that are scattered throughout the world. Once you have collected the last Quill, you will be rewarded with another Pagie that is automatically added to your inventory.
QUILLS
✤ Submerged beneath the Grand Tome, in front of it (39)
✤ Atop the surface on the other side of the Grand Tome (3)
✤ Perched on top of the giant mushroom near Trowzer (1)
✤ On the path between the Foggy Pit and Planker’s Garden (9)
✤ Atop a raft between the trapped Pagie and the switch (1)
✤ On a wooden walkway next to Trowzer (3)
✤ Across from the wooden walkway (4)
✤ Behind the pond next to the trapped Pagie (3)
✤ On the wooden bridge between Trowzer and Wally (3)
✤ Encircling the switch that frees the trapped Pagie underwater (5)
✤ Along the path leading to Moodymaze Labyrinth (5)
✤ Directly along the perimeter of Moodymaze Labyrinth (3)
✤ On the wooden bridge between Ollie and Wally (3)
✤ Scattered around the exit of a Water Time Challenge (9)
✤ Atop the treetops of the Lizard Lash Course (4)
✤ On the path right behind the trapped Pagie (6)
✤ At the beginning of the Lizard Lash Course (2)
✤ In the thorny area with blue mushrooms (3)
✤ On the floating wooden logs (9)
✤ To the right of the floating wooden logs (6)
✤ To the left of the floating wooden logs (3)
✤ During Jolly’s Switch Challenge next to Dr. Puzz (4)
✤ In the Moodymaze Lagoon that gets cleaned through a switch (9)
✤ Along the path in the Murky Passage (10)
✤ Inside the Swampy Station (12)
✤ On the platforms on the perimeter of the Moodymaze Lagoon (3)
✤ Behind Rextro’s Arcade Machine (3)
✤ On the Lily pads, floating amidst the waters (3)
✤ Near the Moodymaze Bunker (7)
✤ On the wooden bridge to Rextro’s Arcade Machine (3)
✤ On the path leading to Kartos behind the Moodymaze Bunker (4)
✤ Around the Moodymaze Lagoon during the Lizard Lash Course (7)
✤ Inside the area of the Moodymaze Lagoon (6)
✤ On the buildings that have Lizard Lash pull-out platforms (6)
✤ During the Platforming Challenge inside a pipe next to the lake (9)
✤ At one corner of the Moodymaze Lagoon with the sinking platform ramp (3)
✤ Around the lake of the Foggy Pit (9)
✤ On the dock that leads to the Lizard Lash Course (2)
✤ Along the path leading to the Cage Match Pagie (6)
GHOST WRITERS
Ghost Writer #01: In the Swampy Station, beneath Rextro’s Arcade and accessible through a pipe at the bottom of the water, you will find the green Ghost Writer. Look for the small area of water within the land-based section of Swampy Station and search inside there to claim it.
Ghost Writer #02: Make your way to the corrugated metal structure housing a Mr Blowy on its top. Begin by consuming a frozen berry beneath the back of the structure and use the gaps to climb up to the highest point, where you will encounter the pink Ghost Writer of this world.
Ghost Writer #03: Upon entering the world Moodymaze Marsh, proceed straight ahead. After encountering the Pagie trapped in a contraption take the left and backtrack until you’ll come across a wooden platform in front of you, where you’ll find the playful red Ghostwriter on it.
Ghost Writer #04: In the section where you must use the Lizard Lash ability to jump between platforms, you’ll find the blue Ghost Writer. it’s in a clearing below the second-to-last platform on the Lizard Lash route to the Pagie and can be revealed by utilizing Laylee’s Sonar ability.
Ghost Writer #05: Make your way to the area between Rextro’s Arcade Machine and the spot with the Arcade Token and jump onto the wooden logs to follow the stream downstream. To your right you will spot a lily pad that will take you to a circular clearing where Normie awaits.
EXTRAS
Arcade Token: Proceed to the area beyond the Spiky Water Pool Challenge and walk straight ahead. Ascend the rocks on the left side, where you’ll find a crate with a grapple point that you can use to latch onto, allowing you to push it and generate a path for grappling up to it.
Power Extender: This one is quite elusive, situated atop a lofty pipe near the area where you can find the Ring Challenge from the pumpkin. To spot it, you’ll need the Glide ability. Ascend into the air and carefully scan your surroundings until you see the Power Extender on a pipe.
Butterfly Extender: Make your way towards the structure featuring a Mr Blowy perched atop it, enclosed by a water moat. Dive beneath the surface and look for a block, where the use of Buddy Bubble and Sonar Splosion is required to demolish it, thereby liberating the Extender.
Mollycool: After purifying the water next to Jolly, dive into it and locate a cylindrical container holding the Mollycool. Utilize the Buddy Bubble ability to submerge yourself underwater, and then employ the Sonar Splosion technique to rupture the cylinder and obtain the Mollycool.
Pirate Treasure: The Pirate Treasure of Moodymaze Marsh can be located atop the Pumping Plant, where the water block puzzle resides. Ascend the exterior of the Pumping Plant and at the pinnacle, you’ll find the skull positioned on one of the pipes extending from the structure.